
Some food, some drink.
The Kitchen Creative Thought Process (or, Chewy Peanut Butter Chocolate Granola Bars).
Abstract: I'm totally content with my method for making granola. However, that method most definitely does not yield the kind of chewy granola bars that my Significant Other can't stop buying at the store. Can I concoct a chewy peanut butter chocolate granola bar that will squelch my Wife's desire to clip coupons to acquire store-bought bars and maintain the integrity of my favorite granola recipe? Scientific method to the rescue!
Purpose: My family burns thru packaged granola bars
like no one's business. As my Significant Other is a 6.5 (out of 10) on
the crazy coupon clipper scale,
we usually get them so cheap that it's hard to argue with their
individually-wrapped convenience. But y'know, every once in a while
there is a window of opportunity for intervention. Even I understand
that there is an ebb and flow to couponing, and without that perfect
storm of coupon, sale, and shopper's card discount, the wife will bide
her time. It just so happens that presently the coffers are a bit low
where chewy peanut butter chocolate granola bars are concerned, so I'm
using this as an excuse to fool around with whole grains and sugar in
the kitchen.
One of the biggest reasons that cooking never gets old for me is
that
it's an opportunity to experiment with peer review. Even the most
polite of folks will have a hard time not being critical about
something they just ingested, and I see every dish as
a chance for improvement. So, in the spirit of the head of household
who refuses to look at a map when even they know that they're lost, I
decided that rather than scouring the Internets for a new
recipe entirely, I would tweak my existing recipe and
see what happens. In the end, I had to make one (not entirely terrible)
failed batch to learn from so as to understand how to make a chewy
granola bar that wouldn't compromise what I like about the way I do
granola. The resultant recipe follows; and if you wanna know how I got
there, you can check out my observations as well.
Recipe: Jump to the detailed recipe. (or, keep reading for the gist of it) -
The Grains
What Binds the Bars
To Finish
Reserve 2 oz (about a half cup) of oats. Combine those reserved oats with the flax seed in a mini-prep chopper or coffee grinder and buzz into a coarse flour. Combine with the rest of the rolled oats, puffed wheat, crisp rice cereal, wheat bran and wheat germ into a large bowl. Stir together and set aside for now.
Prep a 9 x 13 inch pan by lining with a sheet of parchment tacked in place by a few spritzes of non-stick cooking spray. Combine honey, brown sugar, crunchy peanut butter, applesauce and salt in a saucepan over medium heat. Stir until dissolved and just starting to boil, then simmer another 2-3 minutes stirring most of the time to ensure integration and to minimize burning; it'll be about 7-8 minutes total. Stir the hot stuff into dry goods, and press into your parchment-lined pan (an extra sheet of parchment for your mitts helps here). Let cool for about an hour, and de-pan using your parchment sling (easy, huh?). Cut into approximately twenty-four 1.5 x 3.25 inch bars. To finish, melt chocolate in a double-boiler or microwave and then dip and/or drizzle the bars. Let the completed bars rest on a Silpat or parchment sheet until the chocolate sets.
Observation:
My formula for a more crumbly, crunchy granola is rock-solid, but that isn't the stuff my wife will eat, let alone pack as a snack. I needed to make incremental adjustments in key spots based on my prior experience with granola. Here's how it went down:
- A quick browse of online recipes as well as one I'd saved from the back of a bag of dried fruit showed that that the main difference between crunchy and chewy granola was the sugar content and the addition of water. For my first attempt, I ran with my base recipe, while making substitutions that would ensure that the granola would retain its moisture without being too sticky or greasy. Here is what I learned:
- Firstly, instead of just adding peanut butter, I replaced all the fat with peanut butter (which is mostly fat anyway).
- Since keeping the mix moist ensures chew, I not only upped the sugar, but I also went with brown sugar as the molasses contained therein is more hygroscopic than its refined kin.
- I seldom will add "just water" to anything as this is a
squandered opportunity for flavor. So in lieu of water, I added
unsweetened applesauce (+1 bonus to fiber!).
- I feared that baking the mix as usual would set the sugar, but
at the same time, I didn't want the grains to taste raw. So, I toasted
the oats, bran
and wheat germ in the oven before adding the flavor base/adhesive.
- I stirred in chunks of 85% chocolate before pressing the whole mix into the pan. In retrospect, this was a mess. Good chocolate readily melts.
- In the end my beta bars were pretty ugly-looking; but they tasted ok, albeit a bit too dense. Making this batch confirmed what I already suspected: If I was gonna get that yielding, chewy texture the Mrs. likes, I needed to do what the big boys do, and add some air in the form of breakfast cereal.
- Many packaged granola bars use puffed wheat, puffed rice, and/or "Crisp Rice" (that's Rice Krispies unless you're the type that rocks in-line skates instead of Rollerblades). I went with a blend of puffed wheat and the Krispies.
- The beta batch coulda used more peanut butter flavor as well, so I added as much as I thought I could without wrecking the balance I had already established.
- Ready-to-eat cereal is just that; and it now comprises half the total volume of my grains mix. Thus, I figured it'd be safe to not sweat the grain toasting like I did the first time. At any rate, I wasn't entirely sure that it really did anything the first time as those subtle flavors probably got nuked by a mess of sugar and chocolate.
- Unless I wanted to use a cheaper chocolate (no, not today), I realized I would need to add the chocolate after the bar cooled. I figured dipping the bottoms would also add structure to an already more delicate bar, and a bit of a drizzle on top would also make for a nice bit of zhoosh.
- Because I used good chocolate, I ultimately had to put the bars
in the fridge to be able to handle them for any amount of time. I bet
if you downgraded to semi-sweet chips, the melt wouldn't be a
problem.
Results: Truth be told, I probably could have made
these one more time before I posted this recipe, but kudos from my wife
(especially where change is concerned) was enough to tell me to stop.
If you're not a fan of puffed wheat, you could probably dial that back
or even replace the whole lot with Rice Krispies, though I think going
the other way might make these a bit spongy (ewwww).
In the end however, I think I've got a winner here. We can now
allow for a more delicate texture with better ingredients because we
don't have to worry about things like packaging and shipping; 'cuz
let's face it - a big bite of a store bought granola bar can be
downright dangerous to the inside of your mouth. This is a chewy
granola bar that you don't have to gnaw on before you chew. Each bite
is yielding, yet once that bite lands in your mouth, rich flavors and
wholesome chewy textures abound. I often have to practically beat a
critical opinion about my cooking out of my wife; but this time around
without so much as a prompt for critique I got -
"Y'know if you'd have made these all along, I never would have
started buying granola bars in the first place."
Hmmm. Rhetorical? Definitively so. High praise? From this woman, it and
the former are usually one in the same. ![]()
Gallery:

My beta attempt: Ugly, dense, and a bit toooo chewy. These are not the granola bars you're looking for; move along.
My beta attempt: Ugly, dense, and a bit toooo chewy. These are not the granola bars you're looking for; move along.
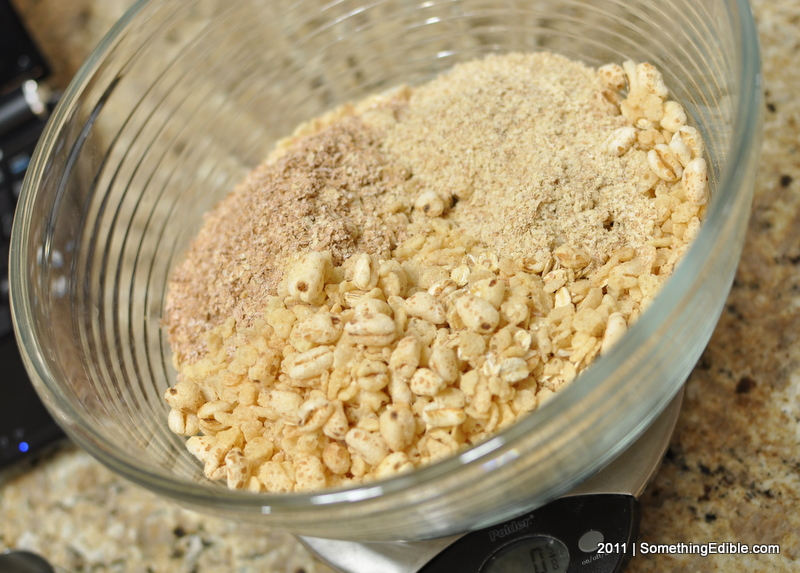
Sure, you can measure by volume, but you dirty up fewer scoops when you can measure by weight and just dump straight into the bowl.
Sure, you can measure by volume, but you dirty up fewer scoops when you can measure by weight and just dump straight into the bowl.
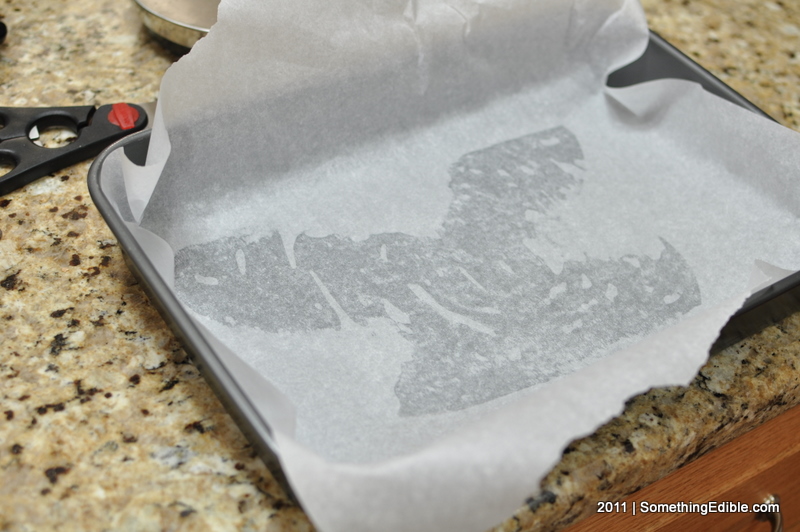
How's this for irony? We're using non-stick spray to get the that slippery parchment paper to stick to the pan. Don't worry; it'll all make sense when…
How's this for irony? We're using non-stick spray to get the that slippery parchment paper to stick to the pan. Don't worry; it'll all make sense when you have to de-pan.

I know this looks like a mess now; just wait 'till it all comes together.
I know this looks like a mess now; just wait 'till it all comes together.
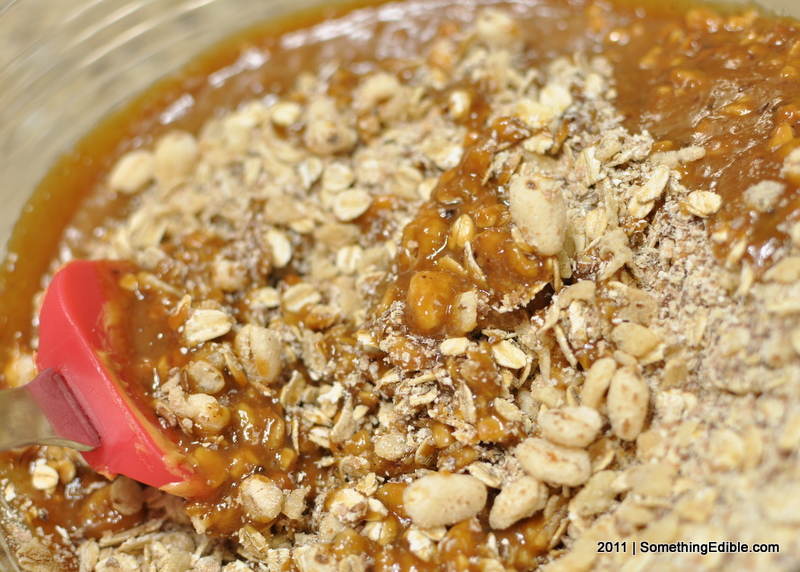
You'll want to make sure that everything's well-distributed and coated evenly. Regular distribution of dry goods is key.
You'll want to make sure that everything's well-distributed and coated evenly. Regular distribution of dry goods is key.
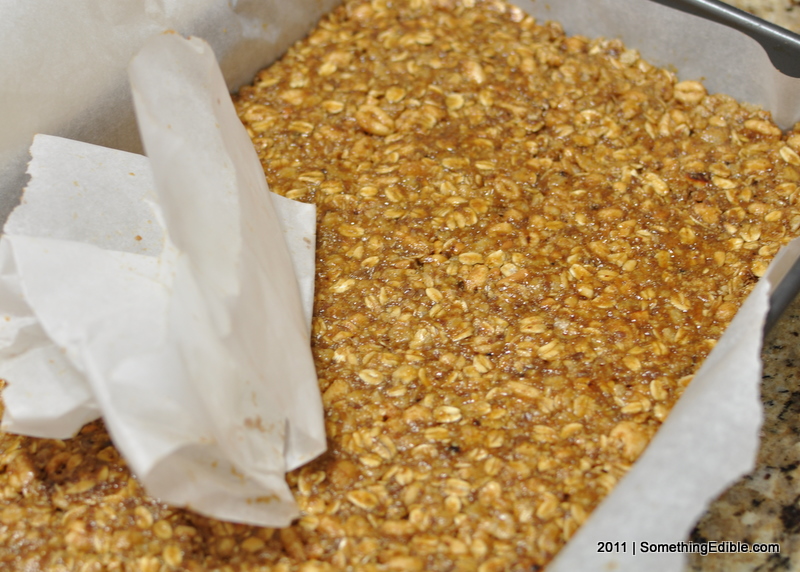
The best way to press your soon-to-be-granola bars into the pan is to get a fold of parchment paper in your mitts and go to town.
The best way to press your soon-to-be-granola bars into the pan is to get a fold of parchment paper in your mitts and go to town.

For equal-sized portions, The ruler is probably not as important as a long knife is.
For equal-sized portions, The ruler is probably not as important as a long knife is.

It's times like this when it'd be nice to be able to pull a commercial-grade enrober out of the closet.
It's times like this when it'd be nice to be able to pull a commercial-grade enrober out of the closet.
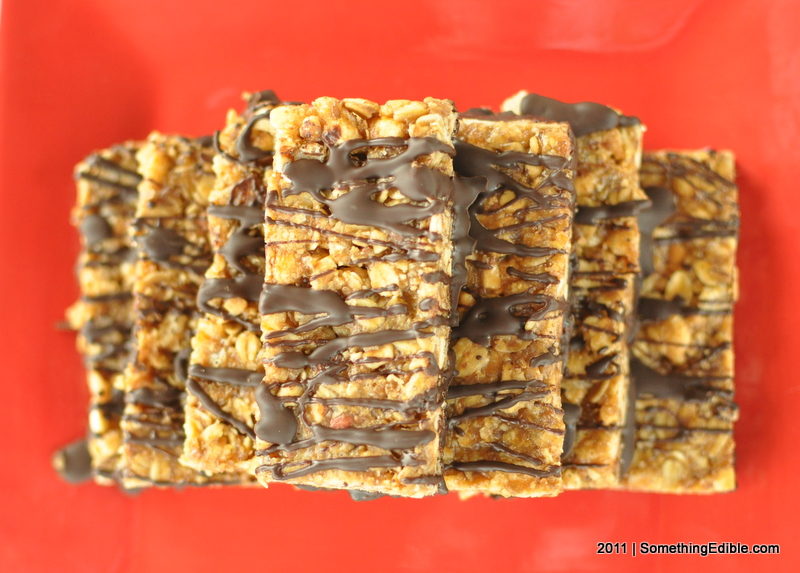
Here we have our finished Chewy Peanut Butter Choocolate Granole Bars. An accompanying glass of moo-juice is not mandatory, but it's highly recommended.
Here we have our finished Chewy Peanut Butter Choocolate Granole Bars. An accompanying glass of moo-juice is not mandatory, but it's highly recommended.
Get Social
Please wait while my tweets load...
Get the latest recipes and news. Join our Facebook page!


