
Some food, some drink.
My Best Bread: A fabulous grill-friendly three herb focaccia.

Abstract:
This olive oil dough recipe of my own design is a dependable go-to in my kitchen when I want a steamy, crusty, fragrant loaf of focaccia without a whole lotta fuss. Three varieties of garden-fresh herbs and a crispy, golden-brown exterior simply beg to be drug thru a puddle of extra virgin olive oil (or whatever's left of that pasta sauce on your plate). And even if it's too hot to light the oven, that doesn't mean that you can't enjoy fresh-baked bread. This is a barbeque grill-friendly recipe; courtesy of your dependable cast iron skillet.
Purpose:
I have a confession to make, gentle readers. I've been holding out on you. I've been sitting on a perfectly solid, tried-and-tested recipe, all the while slinging all kinds of first go 'round, beta-type stuff at you. Today is the day I apologize; and while you won't be getting flowers or a greeting card faced with an animal shot thru a wide-angle lens, you will be receiving something honest and sincere. Today, I'm saying "I'm sorry", and I'm saying it with bread: A three-herb focaccia to be specific.
Aside from trying to teach my kids math, science, and a little bit of patience, one of the reasons I got into baking was for the pizza. For the last three years or so, I've incrementally tweaked my olive oil dough recipe specifically for this purpose; and while the dough does indeed make pretty good pizza (as well as calzones and stromboli), where it really shines is focaccia. My pizza's pretty good, don't get me wrong; but it wasn't until the occasion that I purposed that leftover dough for a skillet of bread that I realized what I'd been missing. And although I started out baking this bread in the oven, the dough and the baking method are soooo very forgiving that it was only a matter of time before this focaccia found its way to the grill.
Recipe: Jump to the detailed recipe. (or, keep reading for the gist of it) -
Dump the water, yeast, salt, HALF the oil, and both flours into the bowl of your stand mixer in the order listed. Using the hook on medium speed, mix until integrated. Add the herbs, scrape down the sides of the bowl and continue to knead at medium speed 10 minutes more. Shape into a ball, drop back into bowl and loosely cover. Let rise in a warm spot (about 80-85F) for 2 hours or until the dough has at least doubled in size. Portion the dough to save half of it in a loosely covered container of roughly twice the volume of the dough. Refrigerate that portion for no more than 3 days for later use (see notes).
With the dough proofed and portioned, preheat the oven to 450F, or setup your grill for the same temperature over indirect heat. Shape 1 pound (that's half of what you made, remember?) into a disc about 1 inch thick. Drizzle one tablespoon of your remaining olive oil into a 10 inch cast iron skillet, and follow the oil to the skillet with the dough. Dimple the dough with your fingertips and stretch the dough to the edge of the skillet if need be. Brush on the last tablespoon of olive oil, and sprinkle with Kosher salt and microplaned Parmesan. Bake for 20-25 minutes or until the surface is a stunningly-beautiful golden brown.
Observation:
- You don't need a cast iron skillet for this, but I'm going to go out on a limb and saying that this'll be your excuse to procure one if you haven't already. Otherwise, a 9-10 inch round (or even square) cake pan will get you by; however that bottom crust won't be near as gorgeous.
- This recipe as wrote is doubled; that is to say that you can make one loaf on day one, and a second on day two, or even splay the whole mess across a half sheet pan (you won't fill the whole thing) if you've got an army to serve.
- If you're not baking it all on the same day, store the proofed dough in a loosely-lidded container that's twice the volume of the dough (it'll rise more in the fridge). Your dough should keep in the cold for 2, maybe 3 days tops with minimal change in the texture of the finished product.
- When it's time to use your refrigerated dough, you'll need to allow for a little extra time so that the dough can come up to a temperature proper for an even baking. After you shape and flatten the mass of dough into your prepped skillet, oil the top and then let it warm up on the kitchen counter 30 - 45 minutes before garnishing.
- About the shaping - This is that part about this recipe being forgiving that I eluded to; seriously, you can't screw this up. I usually just flatten the dough by hand to fit the pan, but a rolling pin's totally acceptable if you're unsure of your dough-handling skills. Shoot for about an inch of thickness.
- After it's shaped for the pan/skillet, the dough will continue to relax as it rests. I dimple/stretch a couple of times before baking just to ensure the skillet stays filled to the edge.
- The herb blend I used is not a steadfast requirement. Four tablespoons chopped of whatever fresh stuff you got will probably be acceptable. Likewise, if you don't have fresh herb, then you can use half the amount of dry, or simply leave it out all together. If you're planning on using the dough for pizza, note that the herbs do have a tendency to tear the dough as it's shaped.
- You can skip the cheese for garnish, but pleeeease don't skip the Kosher salt. If folks tell you your bread tastes really good (which they will), that little sprinkle of NaCl over the crust is the hook that reels them in.
- Out of the hot box, let the focaccia rest 5 minutes in the skillet before de-panning and slicing with a good serrated bread knife, as it'll slice a helluva lot easier once proteins and starches have time to set up.
- If you go for the grill instead of the oven (good for you!) make sure the heat source is indirect in nature. On my four-burner gas job, that means middle burners are off while and the heat is controlled by the two on the outside. On my new charcoal-burning baby, it's a matter of making sure that heat is deflected out of the middle to promote more even cooking via convective air flow.
Results:
So, here it is the middle of summer, and I've again given you a bread recipe. No, I'm not pandering to the high-latitude crowd; it's because this focaccia great grill bread. In fact, this might be the ultimate grill bread. It wants to be cooked at the same temperature you were gonna lay down that chicken or those chops at anyway, so in many cases, there's no messing with temperature; which is really convenient if you happen to be kicking it charcoal-style on said occasion.
The bang to buck ratio of simplicity to taste makes this tops among my bread recipes. The crumb is fragrant with those fresh herbs, and the crust has been fortified with enough olive oil so as to render it irresistible. If you're not baking for a crowd and you happen to have leftovers, this bread makes a wicked sandwich; especially good for paninis, and crazy-good muffalettas that will stand up to even the sloppiest of tapenades.
Gallery:

Well hey there, guy. Nice of you to relinquish my tablet long enough to let me read a recipe (blame it on the angry birds).
Well hey there, guy. Nice of you to relinquish my tablet long enough to let me read a recipe (blame it on the angry birds).
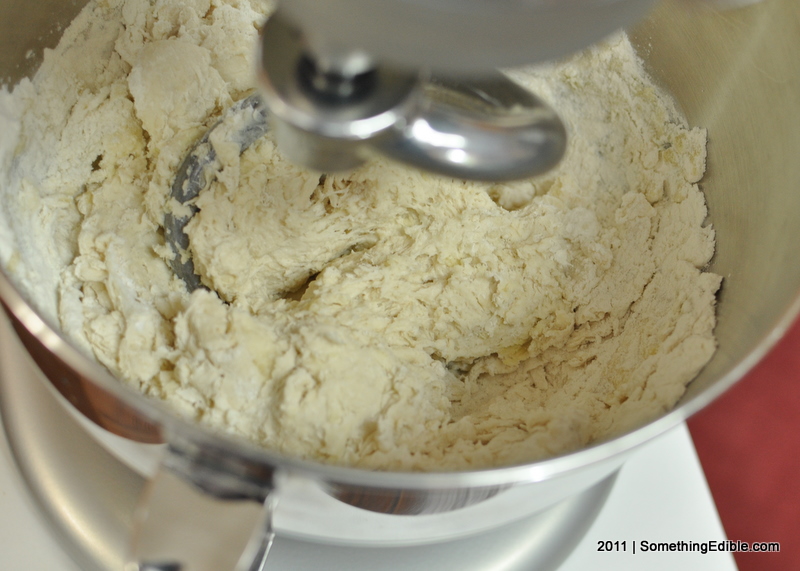
When your dough reaches this loose consistency, it's time to add the herbage.
When your dough reaches this loose consistency, it's time to add the herbage.
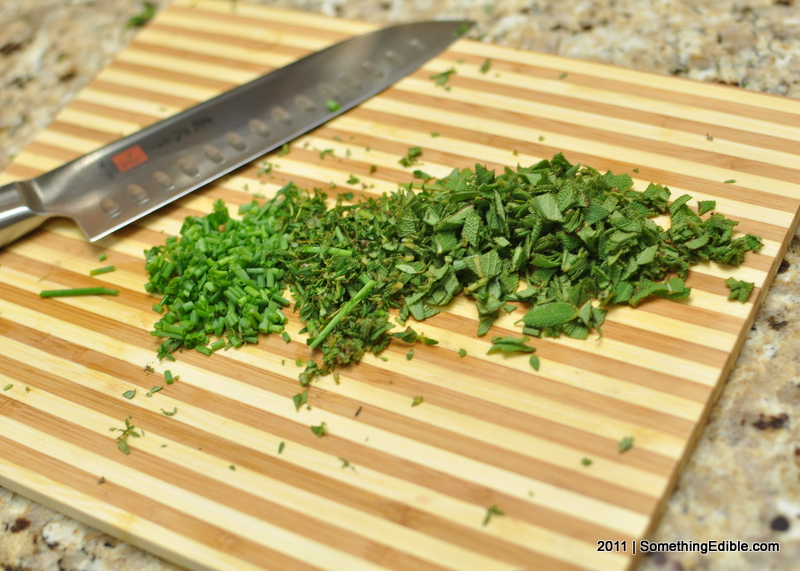
...and speaking of herbs, you can use whatever you got on hand. I like chive, thyme, and sage (from left to right).
...and speaking of herbs, you can use whatever you got on hand. I like chive, thyme, and sage (from left to right).
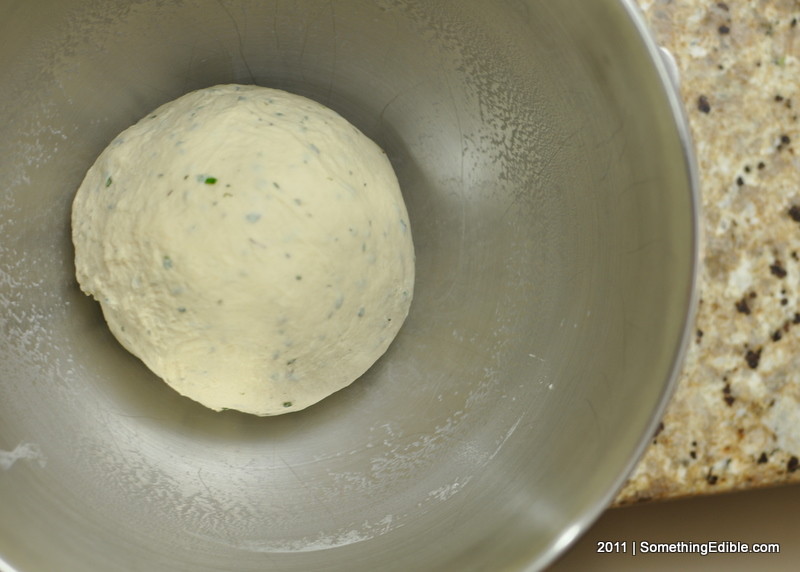
Because you weighed everything out with a scale, your finished dough is of perfect consistency (but it's still gotta…
Because you weighed everything out with a scale, your finished dough is of perfect consistency (but it's still gotta rise).
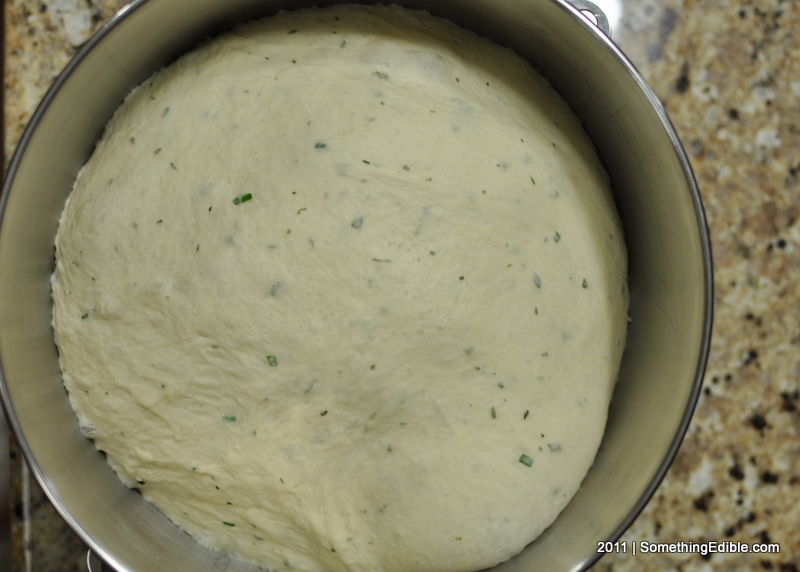
After about 2 hours sitting loosely-lidded on top of the fridge (likely the warmest spot in your kitchen) your dough will have more than doubled in size.
After about 2 hours sitting loosely-lidded on top of the fridge (likely the warmest spot in your kitchen) your dough will have more than doubled in size.
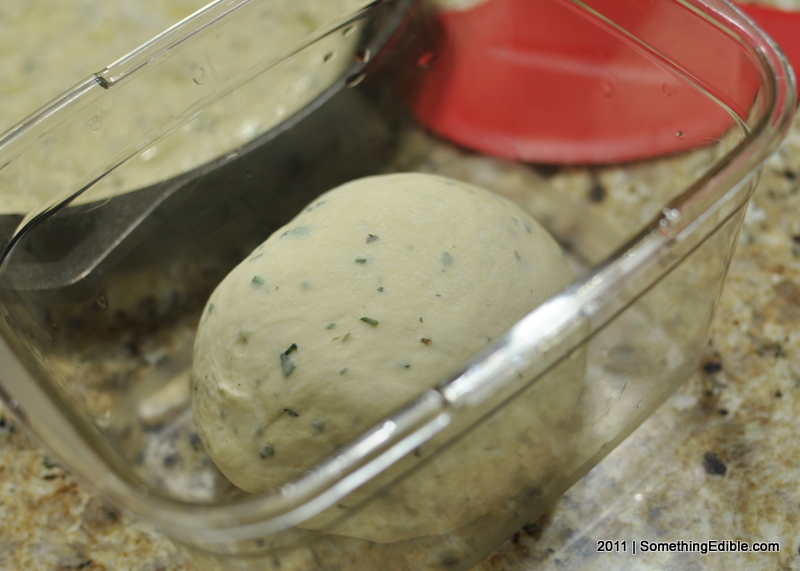
I'm saving this half of the dough for myself tomorrow, 'cuz I bet there's gonna be nothing left of the one I'm baking.
I'm saving this half of the dough for myself tomorrow, 'cuz I bet there's gonna be nothing left of the one I'm baking.
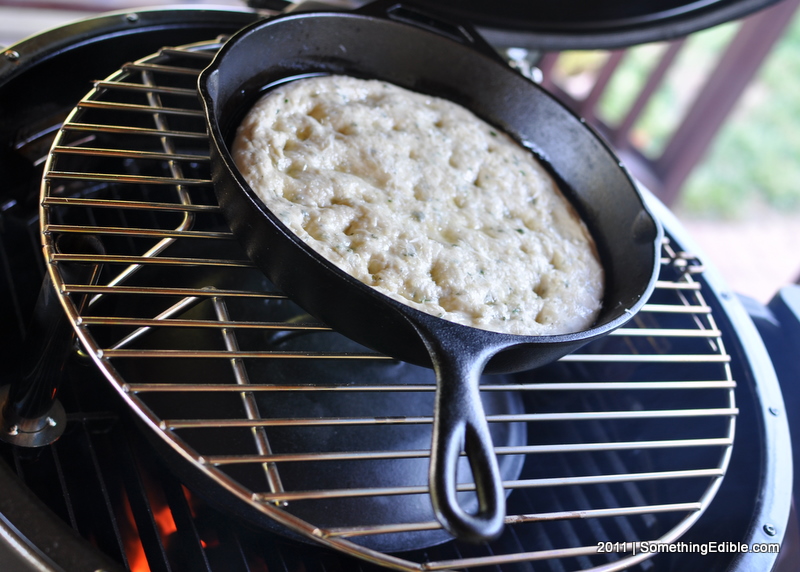
If you're grilling your focaccia (and if it's summer, you should), set your grill up for indirect heat.
If you're grilling your focaccia (and if it's summer, you should), set your grill up for indirect heat.
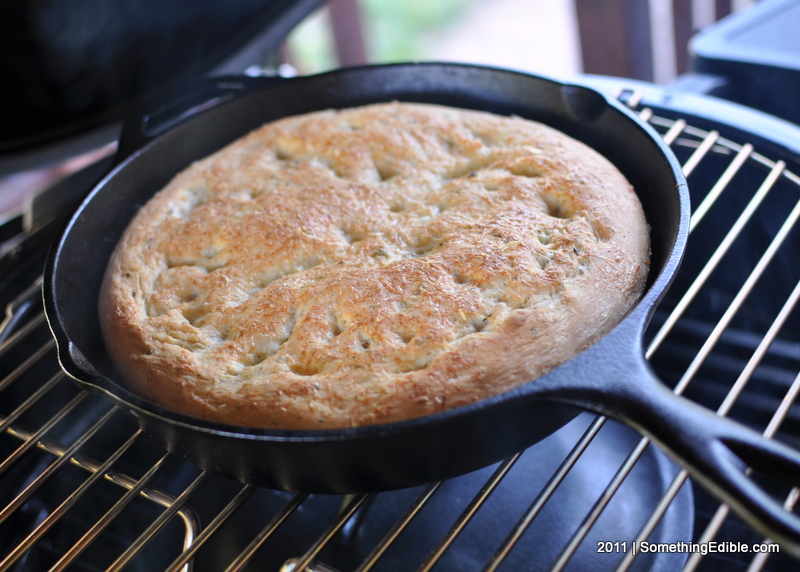
Twenty-ish minutes later, we've got golden, brown, delicious bread. Let the focaccia rest five [grueling] minutes in the pan before slicing.
Twenty-ish minutes later, we've got golden, brown, delicious bread. Let the focaccia rest five [grueling] minutes in the pan before slicing.
There are days where this Three Herb Focaccia and a cold pilsner could be dinner; and I'm ok with that.
There are days where this Three Herb Focaccia and a cold pilsner could be dinner; and I'm ok with that.
Get Social
Please wait while my tweets load...
Get the latest recipes and news. Join our Facebook page!


