
Some food, some drink.
Home Canning for the Newbs, by the Newbs.
Abstract: Despite my best attempts to consume and/or give away all the squash coming out of my garden, I still find myself in a surplus situation. Desperate to dispatch the last of my zucchini, I've turned to home canning to preserve my bumper crop with a method that renders said cucurbit a dead-ringer for canned pineapple. My kids' breakfast smoothies will never be the same.
Purpose: Last year, a friend of mine slipped me
a recipe for zucchini pineapple. What the hell? Is it a preserves?
Is it supposed to be sweet? I had no idea. I had to research. While
flipping thru my trusty copy of UAF's Zucchini
A to Z,
I discovered that the preparation is actually a classic from
the home-canning oracle that is the University
of Georgia Cooperative Extension. This recipe wasn't some novel
creation concocted in someone's out-building. This here was a tried
and tested recipe; which after growing up with home-canned food and
having never head of it made it all the more intriguing.
I have a confession: I try like crazy
to avoid canning, because I despise the tedium of it all. Massive
amounts of prep, doing dishes, and inflexible recipes in the name of
safety are all buzz-kills when measured up against how I cook. My
first option for preserving food has always been the freezer, but
I'm not at all keen on the texture of zucchini from the freezer. The
cell structure of the zucchini seldom survives
the torment of a trip back above freezing point, and what was
once a bag of veggies ends up looking more like a water balloon.
There was really no choice; if I was gonna keep all this zucchini, I
needed to can.
I'm most certainly a novice preserver,
but I can sure follow directions. As I was boning up on my
procedure, it struck me that most home-canning methods always seemed
to be described separate from the actual recipes. This is fine and
all for folks that understand preserving, but frankly I think it's a
barrier to people who are new to this rewarding pastime. In that
context, I've decided to document the often-intimidating technical
aspects of this super-simple recipe that transforms those
big-honkin' runaway zucchini into something that has the taste and
texture of canned pineapple tidbits.
Recipe: Jump to the detailed recipe. (or, keep reading for the gist of it) -
Peel zucchini, remove seeds and pith. Either cut into half-inch cubes or shred. Mix zucchini with other ingredients in a large saucepan and bring to a boil. Simmer 20 minutes. Fill hot pint or half-pint jars with hot mixture and cooking liquid, taking care to remove any air bubbles while leaving a half-inch of head space. Wipe jar rims, top with lids and rings. Process in a boiling water bath for 15 minutes, remove and let cool to room temperature to seal.
Observation:
- As far as supplies are concerned,
what you really need to start isn't much:
- You'll of course need a large water bath canner
- Jars, lids, and rings (usually found sold as a set)
- A canning funnel
- A jar lifter
- If you don't have a proper canning pot, a huge stock pot with a wire rack on the bottom is acceptable. Jars cannot rest on the bottom of the pot, and will need to fit comfortably without knocking into each other.
- Traditionally, water bath canners have been a no-no on a flat-top stove. I'm not gonna tell you how to work your oven, but I will tell you on my particular model, the burner I use for large pots pumps 3800 watts (twice normal wattage). I figure if it can handle that kind of thermal stress and my water gets to a rolling boil, I'll probably be ok. Bottom line: do your research.
- If you're gonna can at home, be ready to do some dishes. I can't over-emphasize how important it is to keep your stuff clean. Those who have made yogurt and beer know the extent of clean I'm talking about.
- To clean my glassware, I like the oxygenated, non-chlorinated cleaning powders (Oxi Clean and its ilk) for the lack of perfumes and chlorine. I figure that smelly stuff trapped in a sealed environment has the potential to impart off-tasting flavors into a product over time.
- Start the water bath in that large pot early, as it'll take a while to get it to boiling. Measure for two inches of water over the tops of the jars, and then be ready to top the pot off with more hot water as it's gradually lost to the ether. Keep the jars in the water bath as it comes to a boil so they stay plenty hot for when it's time to fill. Btw, you'll need your jar lifter to handle that glassware safely.
- Once the water bath is started and dishes are done, turn your attention to dismantling your zucchini. The recipe says you can shred or dice. I've tried both, and I prefer the texture of the dice. Re: the skin, I hate to say it, but it's gotta go. You're losing vitamins, but you'll get some back as the squash is infused with pineapple juice.
- The recipes you'll find in home canning that require lemon juice never ask for fresh-squeezed. Lemon juice in canning is a pH regulator; used to keep microbial maladies at bay. Bottled juice always has a consistent acidity printed right on the label. Fresh squeezed, not so much...
- When pulling hot jars back out of the bath to fill, make sure they set on a surface that won't suck the heat out of the jars and possibly break them. Wood cutting board = great; granite countertop = not.
- The space on the jar where the threads start is also where the jar's
“head space” begins. Head space is necessary to ensure
that gas has a means to cleanly escape as a vacuum is established
in the jar. Fill the jars with squash to just below the head-space
demarcation, and fill with additional liquid so as to make sure all
product is submerged.
- After filling, wipe those jar rims clean. Any lip with a ding or chip in it should not get the bath. Top with a brand new lid and screw on a ring to hold the lid in place (used rings are fine). Thread the ring on until there's enough resistance that the whole jar just starts to spin on your work surface. Tightening is unnecessary and unwanted.
- On the topic of lids, many manufacturers say to pre-soak the lids in hot or simmering water to prep that seal. I did not, and mine still sealed up great; however, you should probably follow the manufacturer's posted directions to be safe.
- When moving the jars back to the bath to finish, make sure they stay fairly level when you're moving them around. You want to keep the headspace inside the jar dry for a good seal. Once they hit the water, you'll see plenty of air bubbling up out of the jars, and that is a good thing. That expelled air is what creates the vacuum in the jar as it cools. Lid that pot up to conserve heat and “process” (that means boil) for the directed time in the recipe for the size of jar you're using. In this case, it's 15 minutes for a pint jar.
- As the processed jars are removed back to the cutting board to cool, you'll start to hear that lovely “pop” as the jars begin to seal as they cool. This little noise is your biggest reward for all that friggin' work.
Results: Infusing a mild veggie like zucchini
with the tart pungency of pineapple really needs no explanation when
it comes to taste. If you're eating this stuff out of the jar, treat
it like canned fruit cocktail, as the consistency of the zuke is
somewhere between canned pineapple and canned pears. I use it in my
kids' smoothies at breakfast in lieu of applesauce for an added bit
of fiber and vitamin C. Other possible options might include a
mix-in for carrot cake or maybe even the base for a “fruit”
salsa with some chipotle chiles and green onion.
This ain't the voice of experience
talking here, so please don't take my ramblings as gospel. What has
been documented in the confines of this URL is a procedure where
thoughtful precaution and planning have been considered. All the
while, mistakes still seem to rear their ugly head. I'm the first to
admit that I'm still a home-preserving greenhorn, so any
constructive criticism is welcome.
Calling this recipe “easy”
is a bit of an understatement. However, following an easy recipe
enables a novice canner to focus on the method itself, which makes
this recipe a great start for anyone looking for an easy
introduction to home canning.
Notes: Covering my ass here, the procedures I've described here are taken from tried and tested sources. As much as I like to experiment with my food, the realm of preserving is a poor place to flex that creativity. Stick to the recipes and methods provided by established sources, and if something you put up looks, smells, or tastes questionable, play it safe and toss it. After all, the jars are reusable, aren't they?
Gallery:
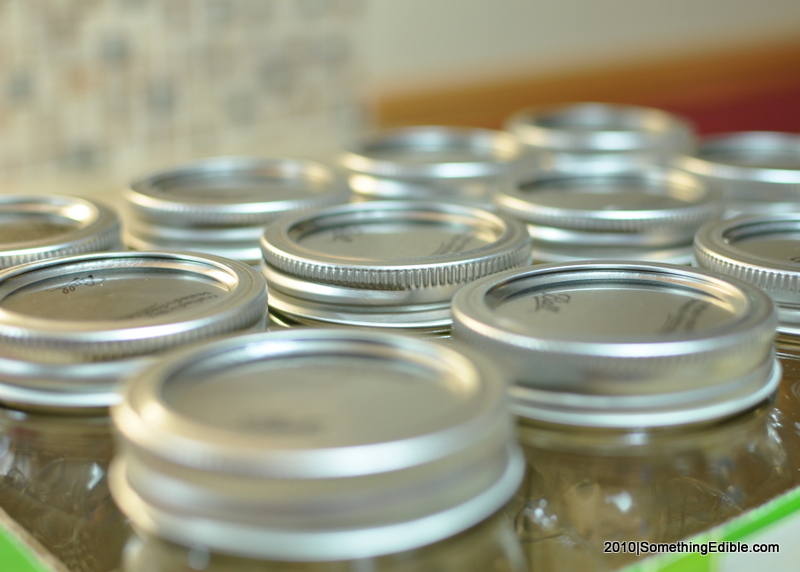
Not letting that first flat of jars I bought sit in the basement empty was part of my motivation to start canning.
Not letting that first flat of jars I bought sit in the basement empty was part of my motivation to start canning.
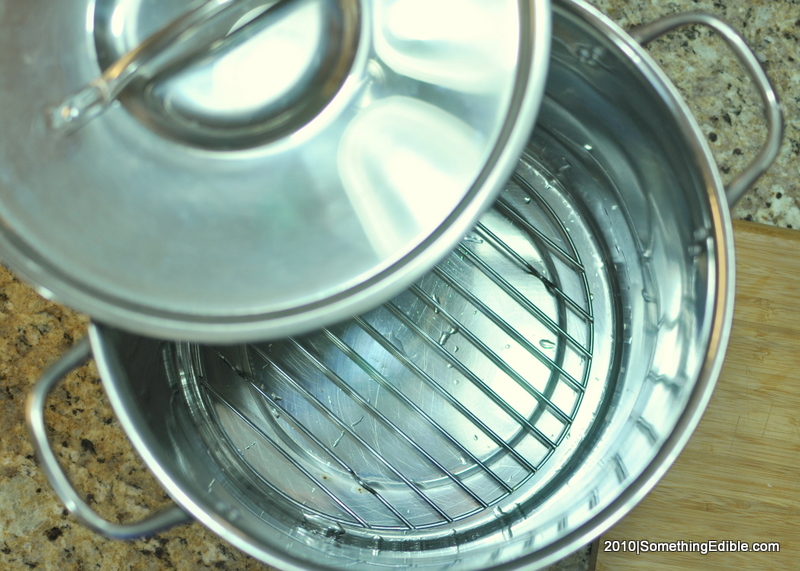
I just happened to have a big ol' stock pot to use for my water bath and a perfectly-sized rack to fit in the bottom. Serendipity is keen.
I just happened to have a big ol' stock pot to use for my water bath and a perfectly-sized rack to fit in the bottom. Serendipity is keen.
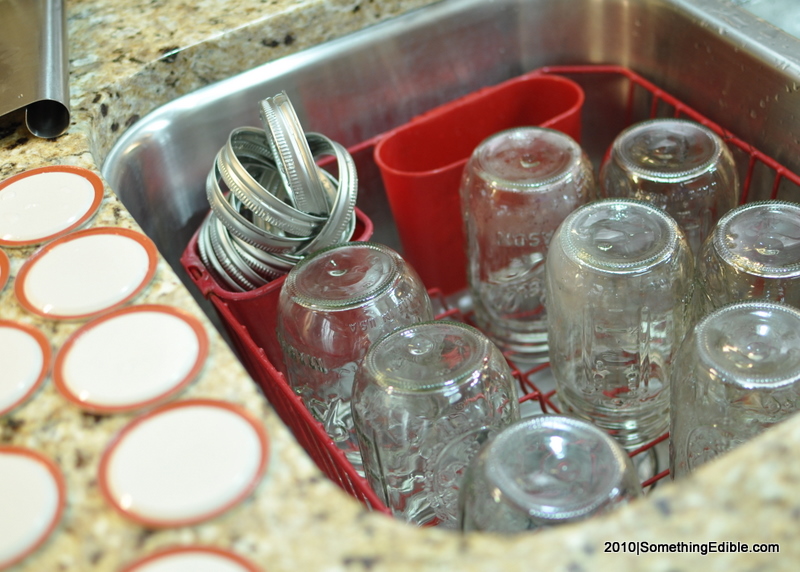
Ugh. the drudgery of dishes. What's more, with all the glass, enlisting my preschooler to help at the sink really wasn't an option. Did I mention I don't…
Ugh. the drudgery of dishes. What's more, with all the glass, enlisting my preschooler to help at the sink really wasn't an option. Did I mention I don't like to do dishes?
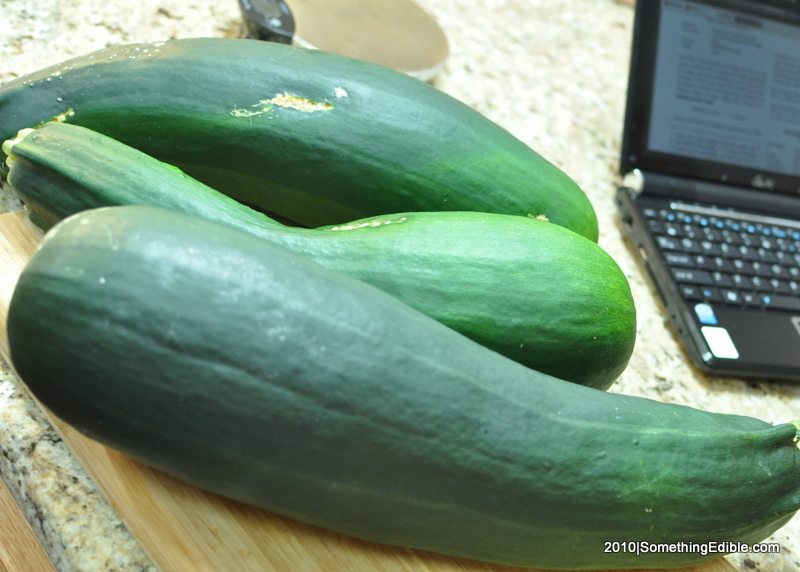
These three ginormous squash total about fifteen pounds total; enough to fill about eight pint jars after processing.
These three ginormous squash total about fifteen pounds total; enough to fill about eight pint jars after processing.
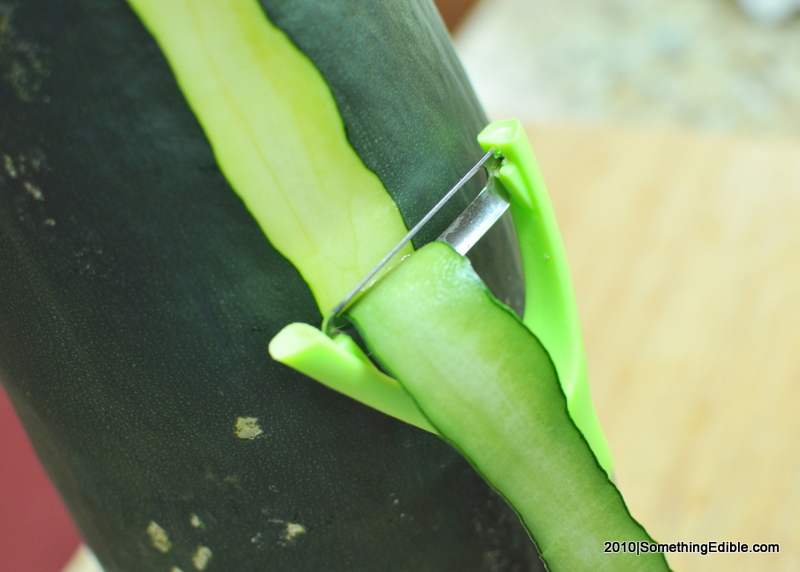
Sigh. All that chlorophyll and associated nutrients being stripped away. If it wasn't a matter of texture, I'd sooner keep it.
Sigh. All that chlorophyll and associated nutrients being stripped away. If it wasn't a matter of texture, I'd sooner keep it.
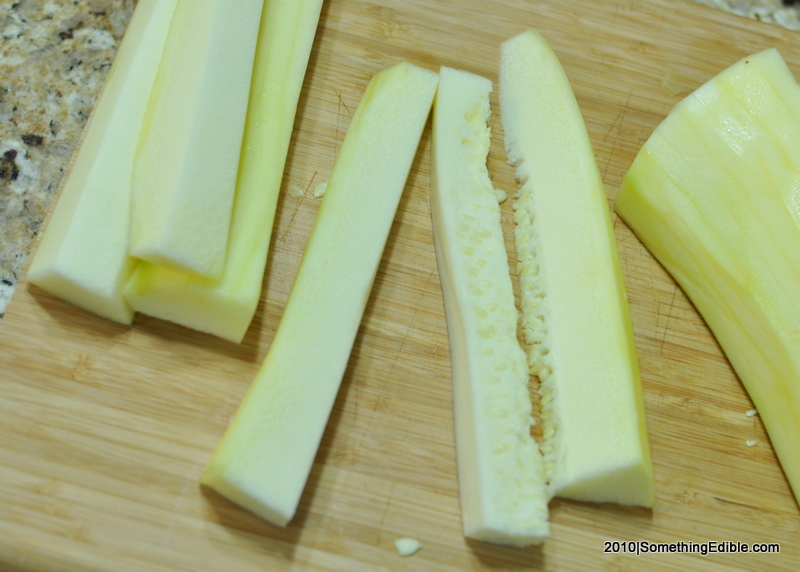
It looks like a lot of waste, and it is (about two lbs per zucchini); but trust me, there ain't nothing tasty in the pith and seeds of a mature squash.
It looks like a lot of waste, and it is (about two lbs per zucchini); but trust me, there ain't nothing tasty in the pith and seeds of a mature squash.
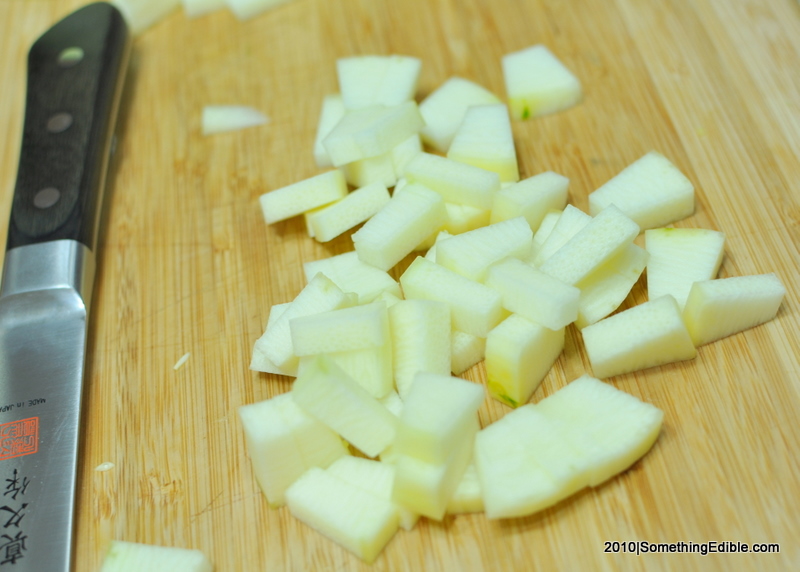
Pineapple is cylindrical and so is zucchini. Plan your knife cuts to mimic pineapple tidbits for extra authenticity.
Pineapple is cylindrical and so is zucchini. Plan your knife cuts to mimic pineapple tidbits for extra authenticity.
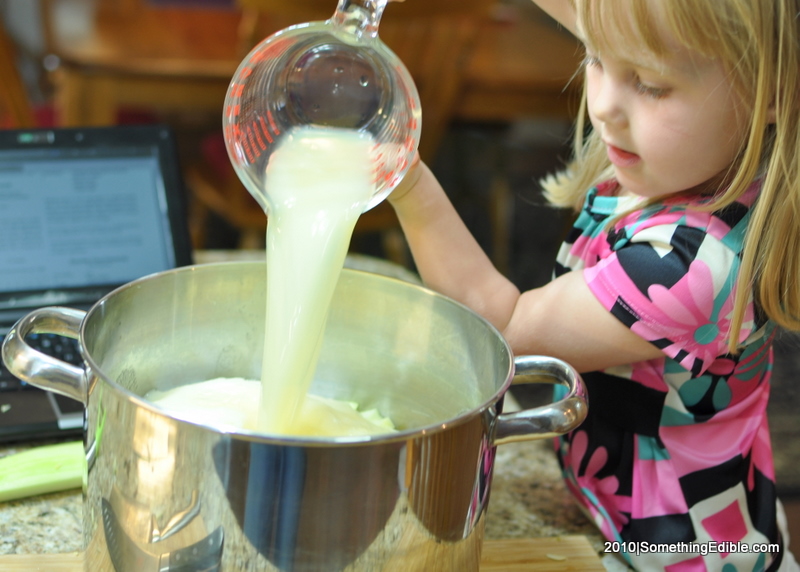
A cup and a half of bottled lemon juice into the pot. It's gotta be bottled for safety's sake, but you really don't wanna squeeze all those lemons anyway.
A cup and a half of bottled lemon juice into the pot. It's gotta be bottled for safety's sake, but you really don't wanna squeeze all those lemons anyway.

If you fill up the water bath with the jars in the pot, you always get a proper amount of water. They're gonna have to go in there anyway to heat up before…
If you fill up the water bath with the jars in the pot, you always get a proper amount of water. They're gonna have to go in there anyway to heat up before being filled.
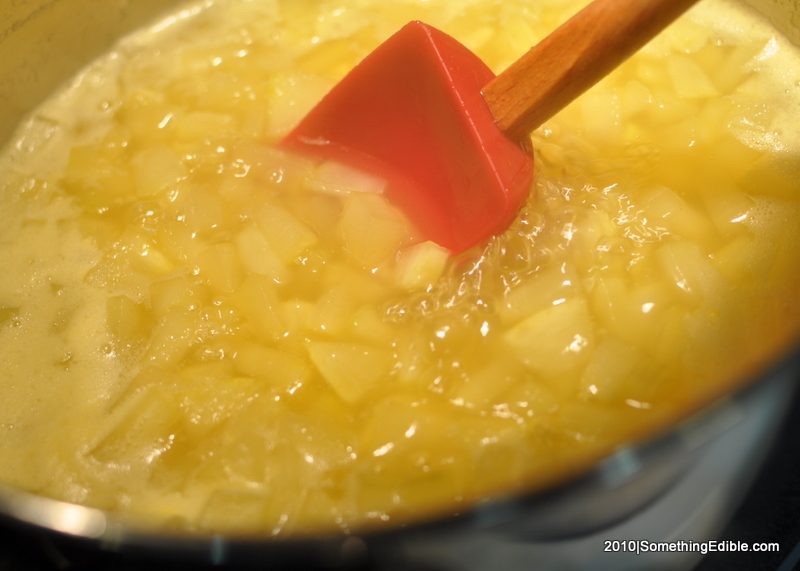
The zucchini is simmering and starting to soak up the pineapple juice.
The zucchini is simmering and starting to soak up the pineapple juice.
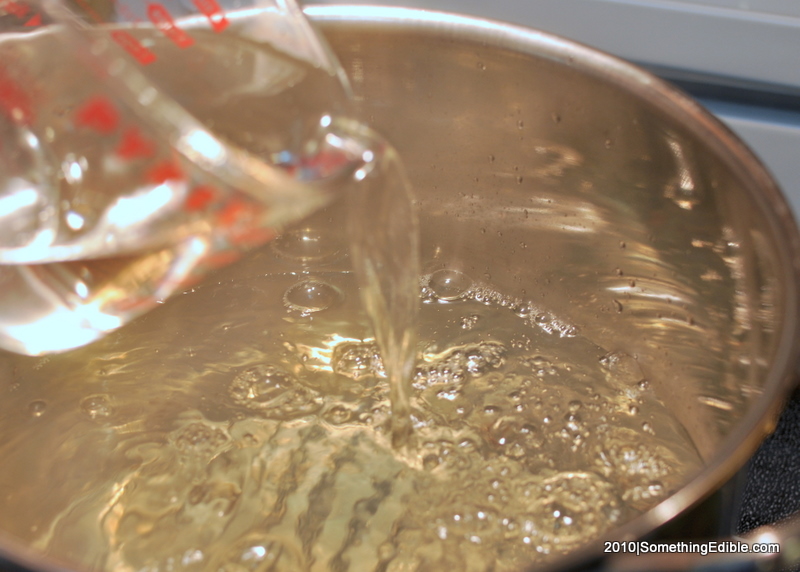
After pulling jars for filling, I added a little extra hot water to ensure I had that proper coverage when the jars went back in.
After pulling jars for filling, I added a little extra hot water to ensure I had that proper coverage when the jars went back in.

Everything is present and accounted for to start filling. You gotta work pretty fast to ensure all that hot glass doesn't cool down.
Everything is present and accounted for to start filling. You gotta work pretty fast to ensure all that hot glass doesn't cool down.
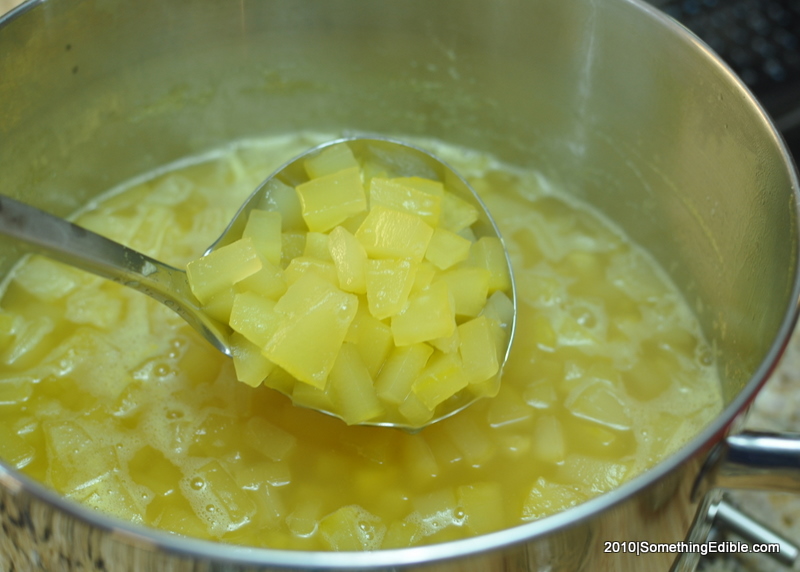
From this picture, if I told you that was pineapple, you wouldn't think twice about it. Forgery!
From this picture, if I told you that was pineapple, you wouldn't think twice about it. Forgery!
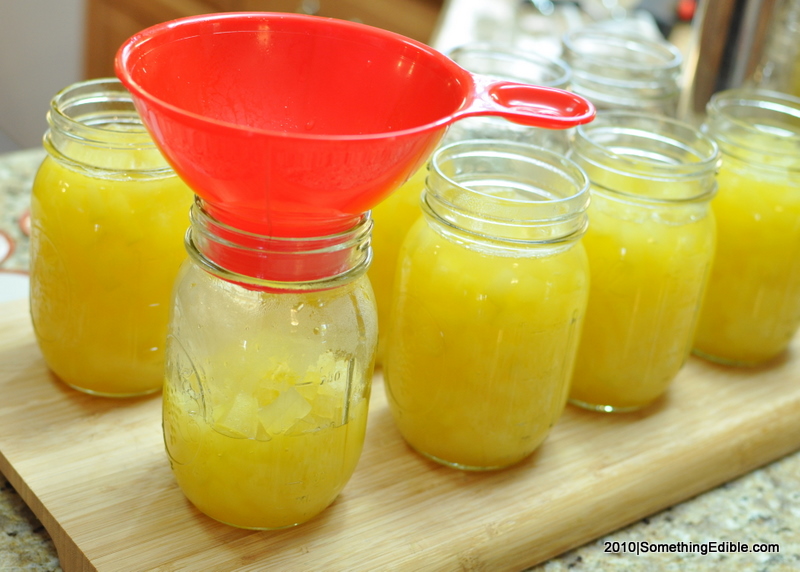
Even if your aim is spot-on, you still need that funnel to help you keep the crud off the jar rims.
Even if your aim is spot-on, you still need that funnel to help you keep the crud off the jar rims.
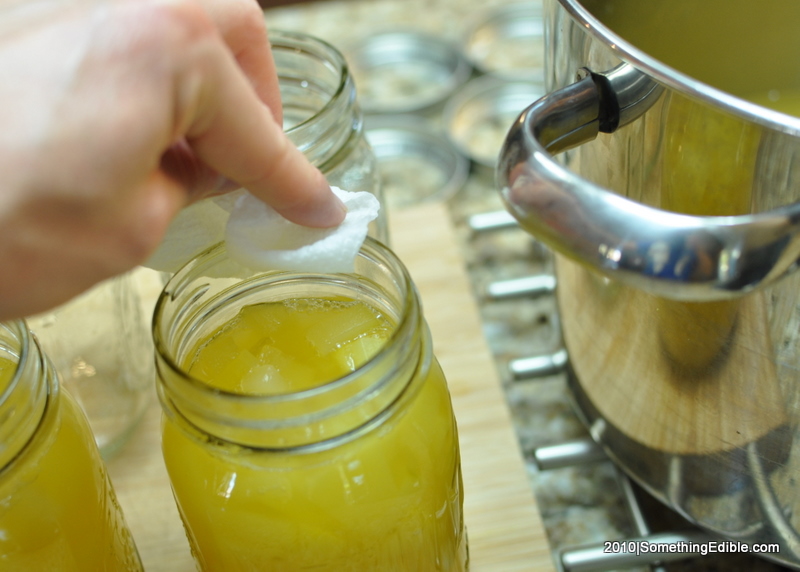
I go once around every jar rim with a moistened paper towel and then again with a dry one, just to be certain.
I go once around every jar rim with a moistened paper towel and then again with a dry one, just to be certain.
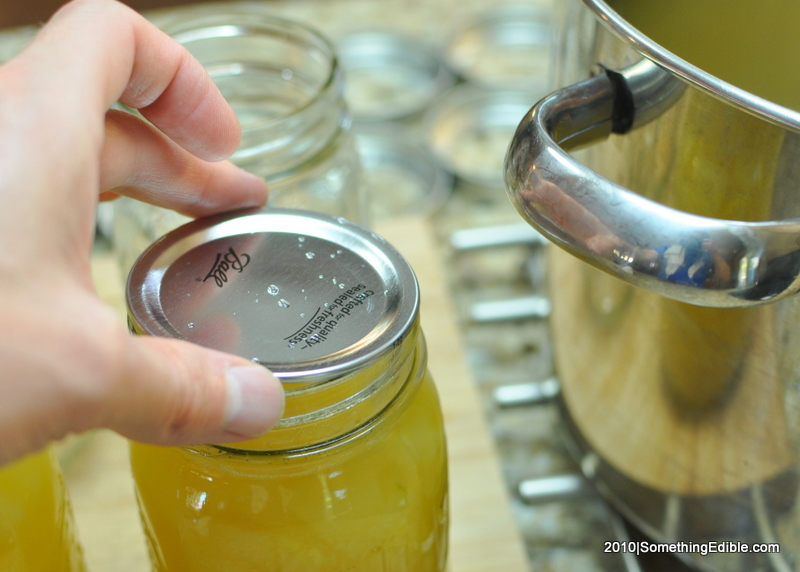
If you're preheating the lids, they might be a bit hot. They make magnetic lid lifters, but it's just easier to work fast.
If you're preheating the lids, they might be a bit hot. They make magnetic lid lifters, but it's just easier to work fast.
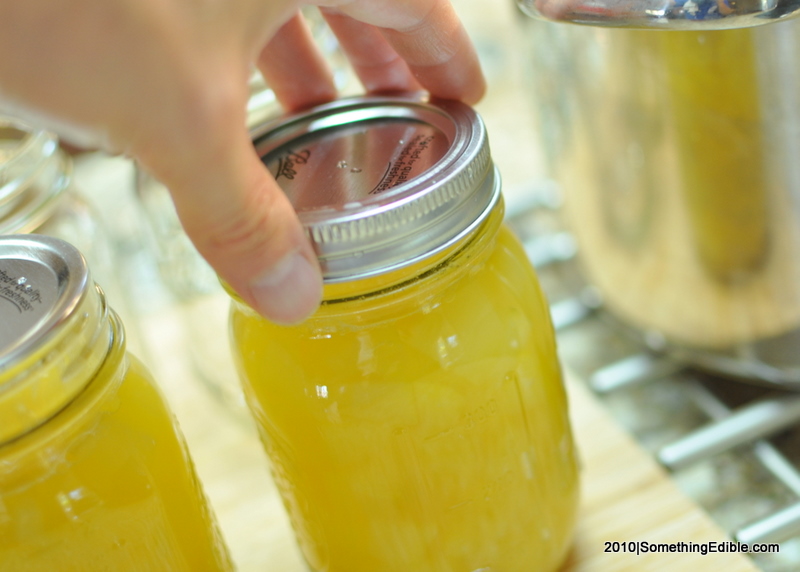
Do not tighten the crap out of the ring. Once the jar stops resisting and moves freely as you screw on the lid, it's probably tight enough.
Do not tighten the crap out of the ring. Once the jar stops resisting and moves freely as you screw on the lid, it's probably tight enough.
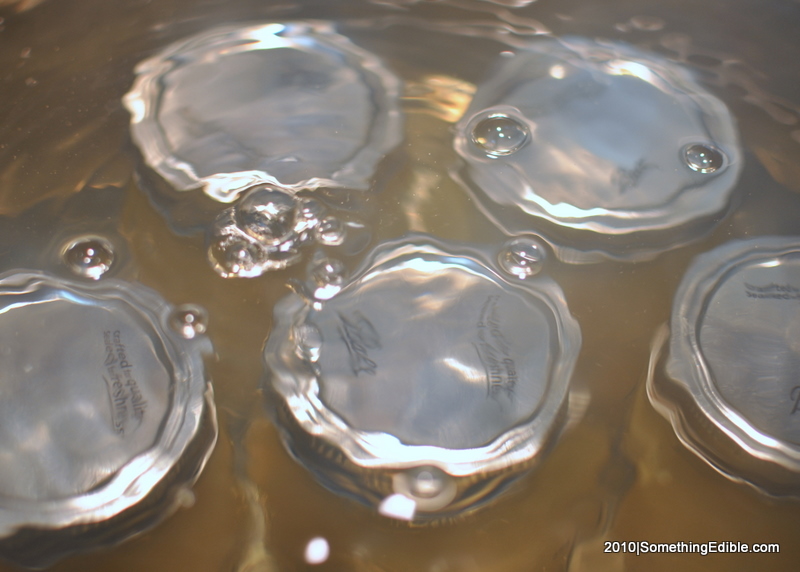
It's perfectly normal to see those bubbles coming out from under the lids of the jars. In fact, it's even an indicator that you're following proper procedure.
It's perfectly normal to see those bubbles coming out from under the lids of the jars. In fact, it's even an indicator that you're following proper procedure.
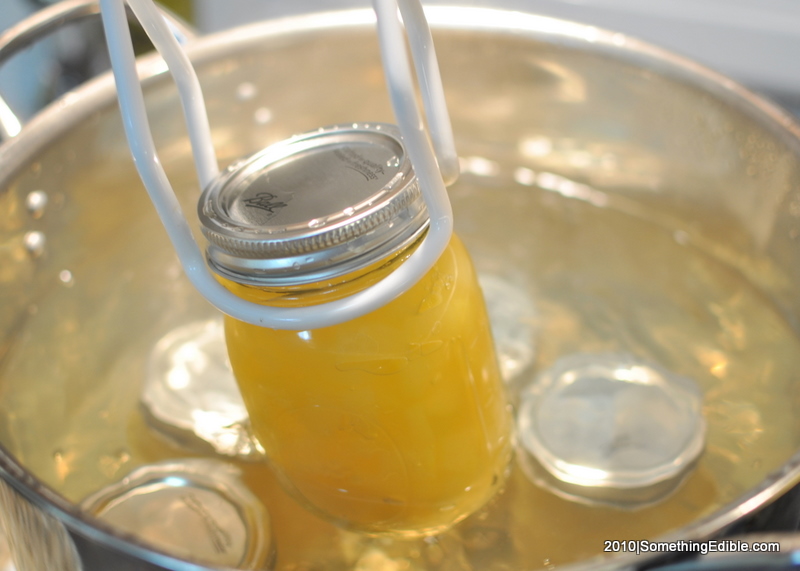
Do your best to keep the jars level as you pull them from the water bath. The lids aren't sealed just yet.
Do your best to keep the jars level as you pull them from the water bath. The lids aren't sealed just yet.
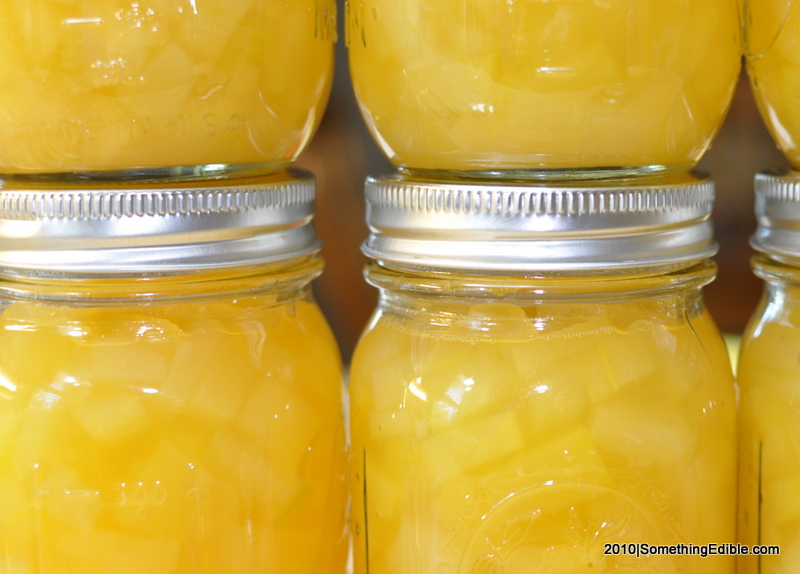
Here we are, the finished canned zucchini disguised as pineapple tidbits. I'd like to have been a fly on the wall in the kitchen where this recipe was…
Here we are, the finished canned zucchini disguised as pineapple tidbits. I'd like to have been a fly on the wall in the kitchen where this recipe was invented.
Get Social
Please wait while my tweets load...
Get the latest recipes and news. Join our Facebook page!


