
Some food, some drink.
Getting the flop out: In pursuit of the Best Home-Canned Bread and Butter Pickle Method.
Abstract:
I don't grow cucumbers in my garden, but given that just about everyone I know with a well cared for patch of dirt does, pickling fodder is never hard to come by in the summer. When four pounds of large cucumbers were entrusted to my care, I could think of no better use than bread and butter pickles. My twist on bread and butter pickles uses fresh ginger and ancho chile to cut the sweetness and to play counterpoint to the tang of cider vinegar. Don't even bother sealing up that first jar; these pickles are so irresistible that you'll bury the first one single-handedly in an afternoon's time.
Purpose:
I'm absolutely no seasoned vet where home canning and preserving is concerned; I've still got a lot to learn (making mistakes as I go), and I think thats why I find it interesting. I'm also finding out that while much of what goes on with home canning is absolute, the method itself is very forgiving if you take the time to understand what you "can" and can't do.
Case in point: As I read thru recipes and methods I found that there are generally two means that home canners employ to avoid the dreaded "floppy pickle": The first involves treating the cucumbers with lime, whereas the second uses a low heat pasteurization method that generally takes three times longer than the conventional boiling water hot pack. First, I really wanted to avoid subjecting my pickles to floppitude, but I generally don't keep lime around either. I figured I had an extra 20 minutes to burn and was fairly confident that I could regulate a temperature between of 181-185F on my range to meet the requirements of the latter of the two methods. Everything was going well until I got to the part where the jars were supposed to seal. Even after after a two hour plus kitchen hiatus where the pasturized jars were left to rest, nothing was sealing up. Panic! I made the exectutive decision that seven pints of potentially floppy sealed pickles were better to have on hand than a mess of refrigerator pickles. So I got new lids, cleaned up the rims again, and did the 15 minute boil, after which everything was perfectly sealed.
So, what the hell happened; and what's with this low temperature pasteurization business anyway? Well, above a certain temperature (in this case 185F), the pectins bound up in the cell walls are released. Pectin is a primary component of plant cell walls, which are responsible for the structure of a plant (see where I'm going here?). Pectin in cell walls actually has a thing for calcium, and that's why pickling lime, calcium choride, pickle crisp et al are used to help those pectins stay put. Loose pectins be damned; I'm playing by the rules and I lost. As a fella with control issues, this wasn't gonna do. I can follow directions when absolutely required (ask my wife) and my jars didn't seal after following the low temperature pasteurization method to the letter. Wanting to get a bit of an authoritative perspective on what went amiss, I did my research, and then proceeded to call the good folks at the Ellis County Office of K-State Research and Extension for a second opinion. A comparison of their recommendations and my observations follows after the recipe:
Recipe: Jump to the detailed recipe. (or, keep reading for the gist of it) -
The Brined Veggies
The Pickle Liquid
Liberate the cucumbers of any dirt and cut at least an 1/8 inch off of the blossom end (cut both ends if you can't tell) and discard. Using a mandoline, make 1/4 inch thick crinkle cut slices. Cut the onions longitudinally and toss with the cucumbers and salt in a large non-reactive vessel (look for something twice the volume). Cover with 2 - 3 inches of crushed or cubed ice and refrigerate 2.5 hours, adding more ice if needed. Combine all the Pickle Liquid ingredients in a 4 quart pot over medium high heat. When it all reaches boiling, cook for another 10 minutes.
Meanwhile, after the cucumbers and onions complete their 2.5 hour soak in the brine, drain them, add them to the boiled pickling liquid, and return to just boiling over medium heat (about 10-15 minutes). Fill your pint jars with the veggies and pickling liquid, leaving a 1/2-inch of head space. Adjust the lids and process in a boiling water bath for 10-15 minutes (according to your jar manufacturer's directions and your elevation) or try the low-temperature pasteurization treatment described on page 2 of this publication.
Observation:
Notes from K-State Research and Extension and my observations Re: Low Temperature Pasteurization -
-
The altitude is a possibility. [You] may need to lengthen the time by 5 minutes, so it would be 35 minutes. For water bath canning, length of time to process is adjusted for altitude increases.
- Now there's something I'd not thought of at the time. Elevation is all over the place in Kansas, so I'll try taking the extra five next time for sure.
-
Under or overtightening of the screw band.
- Nope; I screw my bands down with one hand until the jar just starts to spin freely on the counter. It's like using a built-in torque wrench.
-
Reuse of single-use lids or jars.
- Aw, c'mon I know better than that. I only use jars made for home-canning, and never re-use lids (rings are ok, though).
-
Incorrect amount of headspace or failure to remove air bubbles before placing lid on jar.
- I actually took a ruler to my jars to measure headspace before filling; and if necessary, I give my filled jars a little stir with a clean utensil to knock out excess air (I like a disposable bamboo skewer for this).
-
Careless handling of jars and lids before and after processing.
- I'm the epitomy of careful. Any jar that would have got knocked around would have been set to the side for observation, and probably eaten first.
-
Tightening or loosening bands immediately after processing.
- I left 'em alone in hopes that the magic of the vaccum seal would do its thing.
-
The recommendations to pre-treat Ball lids are to heat for 10 minutes at a simmer of 180F. Lids should be covered with water. Overheating lids by boiling can result in seal failure.
- This could probably use more attention. I usually wing it on lid temperature, knowing that I want 'em hot but not boiling hot. Now that I know that Ball lids like a target temperature of 180F to soften the seal up, I'm going to get a second thermometer out for the lids next time.
Results:
So what have we learned here? Altitude is likely a factor in low temperature pasteurization, so it'd be a good idea to contact your local extension office to find out what length of time is appropriate for your particular elevation. Also, knowing the optimum temperature for the lid pre-treat is a great piece of information, as most of the time, recommendations tell you get them hot, but not to boil them lest you ruin the gasket material. That being said, the good news in all of this is that my pickles not only tasted great, but actually maintained quite a bit of structure despite my problems. I attribute that primarily to three factors:
- First, is the crikle cut. All that extra vertical structure you don't otherwise get from a straight cross-cut helps to hold the pickle up.
- Second, thicker is better. I went ahead and dialed in an extra sixteenth of an inch past the recipe recommendation on my mandoline for a full quarter inch. Thin pickles are for fast food burgers.
- Third, I made it a point to use firm cucumbers that were easy on the seeds. You're better off not wasting your time with a spongy or overly seedy cuke; using less-than fresh produce will only lead to home-canned dissapointment (I guess there's something to all that talk about stuff being "canned at the peak of freshness").
So, yeah; despite the stress, my pickles actually turned out petty good. Sweet and tangy like you'd expect of a bread and butter pickle; and the addition of the ginger and ancho chile added just the right amount of kick that you'll likely never get from that monochromatic-tasting store-bought variety. Next time around, I think I'm going to run a proper comparison to see what a standard boiling water bath will do compared to a revised low temperature pasteurization method. I'll be sure to give y'all an update.
Notes:
Home canning is a blast, and a succesful batch of jars put up can do all kinds of wonderful things for your self-esteem; but it also requires specific directions be followed, lest you wish to bestow fun stuff like nausea, paralysis, and quite possibly dealth upon you and your loved ones. If you have questions or concerns, be sure to contact the friendly folks at your local county extension office for help (K-State's home canning site is chock full of great info!). Always do your homework; it never hurts to cross-reference a couple of sources!
Gallery:

A crinkle-cut on my mandoline was probably the single most significant factor to affect my pickle's texture.
A crinkle-cut on my mandoline was probably the single most significant factor to affect my pickle's texture.
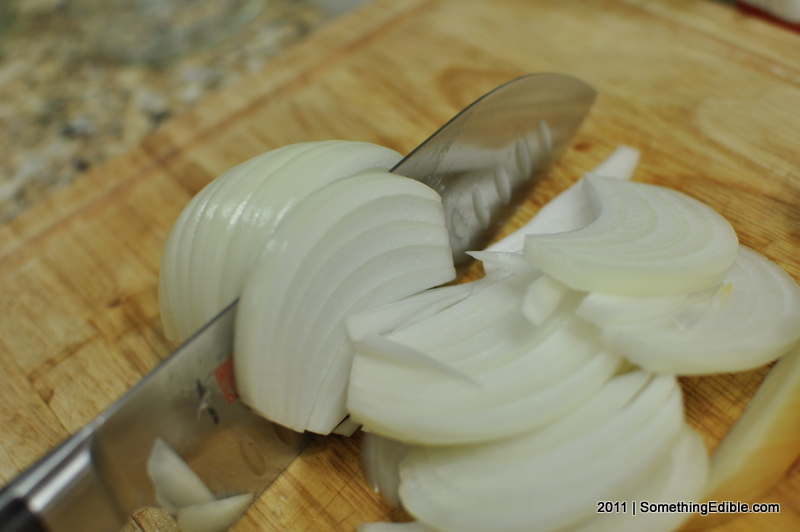
Cutting onions longitudinally means better veggie structure and tempers the onion's flavor.
Cutting onions longitudinally means better veggie structure and tempers the onion's flavor.
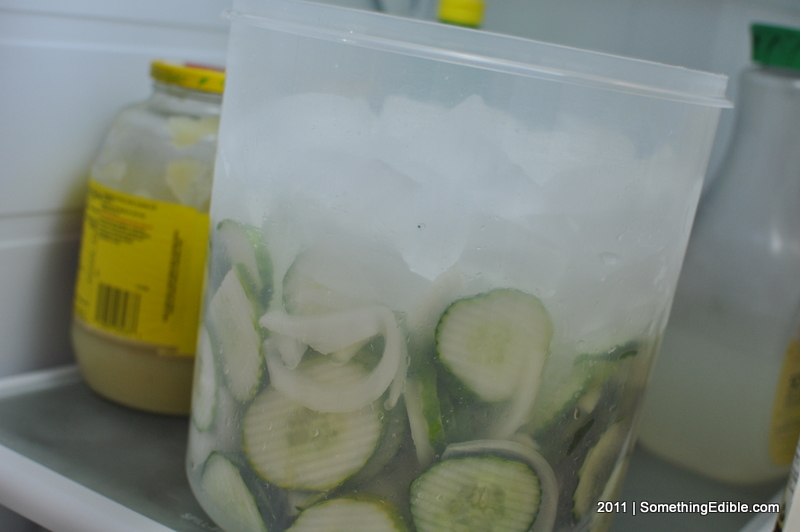
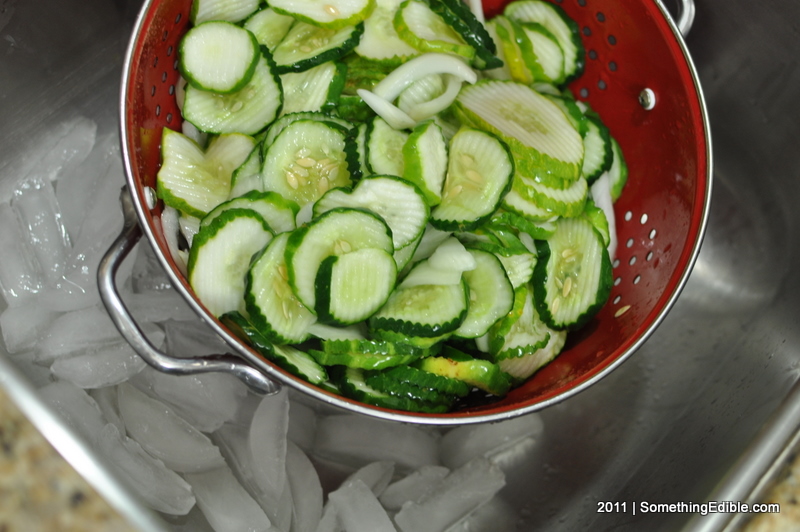
Pickles are salted and iced. We'll come back and check on these in a three-ish hours.
Pickles are salted and iced. We'll come back and check on these in a three-ish hours.
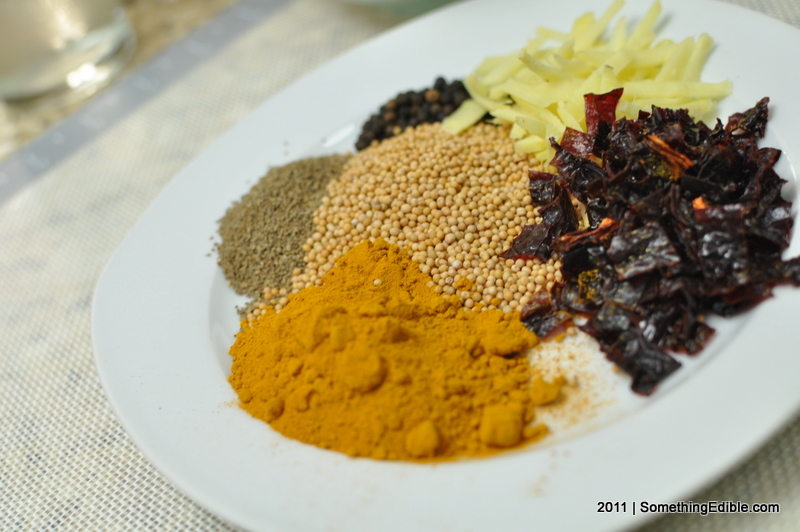
Tumeric, ancho chile, fresh ginger, black pepper, celery seed and mustard seed. These are the spices that make for a bread and butter pickle with zing!
Tumeric, ancho chile, fresh ginger, black pepper, celery seed and mustard seed. These are the spices that make for a bread and butter pickle with zing!

Look at all the excess water those cucumbers gave up in just a few hours. Ain't that somethin'?
Look at all the excess water those cucumbers gave up in just a few hours. Ain't that somethin'?
Out of the brine; these pickles are now properly seasoned. Time to add the spice for a good simmer.
Out of the brine; these pickles are now properly seasoned. Time to add the spice for a good simmer.

These proto-pickles just hit the liquid and already they're taking on that awesome yellow tint, courtesy of the tumeric.
These proto-pickles just hit the liquid and already they're taking on that awesome yellow tint, courtesy of the tumeric.
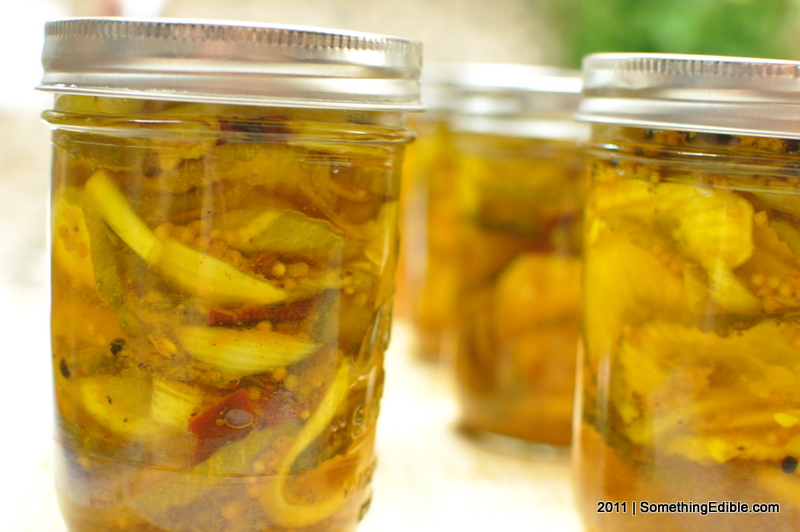
Second time's a charm. Low temperature pasteurization didn't work for me, but the standard boiling water bath sealed the jars just fine.
Second time's a charm. Low temperature pasteurization didn't work for me, but the standard boiling water bath sealed the jars just fine.
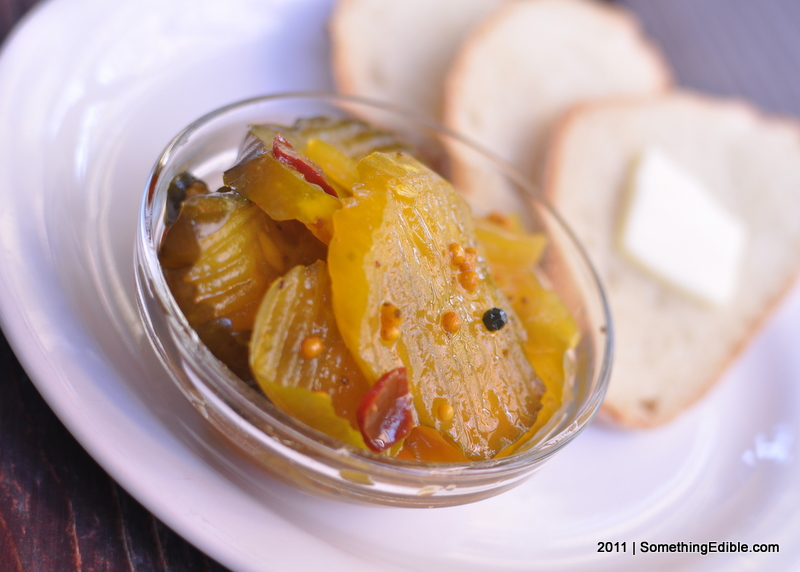
Surprisingly enough, homemade bread and butter pickles go great with bread and butter. Who knew?
Surprisingly enough, homemade bread and butter pickles go great with bread and butter. Who knew?
Get Social
Please wait while my tweets load...
Get the latest recipes and news. Join our Facebook page!


