
Some food, some drink.
For the love of gourd: Proper pie pumpkin dissection and perfectly-seasoned toasted pumpkin seeds.

Abstract:
The convenience of a can pales in comparison to the flavor benefits reaped by roasting your own pie pumpkins. With holidays fast-approaching, it's time to start thinking ahead to what you can do-ahead. It just wouldn't be right not to do at least a couple of pumpkin dishes, and roasting your own takes a seasonal recipe standard to whole new levels. This post illustrates how to dismantle and properly roast a pie pumpkin. And because you're gonna need something to munch on while you're rolling out the crust for that pie, I've also included the recipe for my favorite method for toasting and seasoning those seeds as well.
Purpose:
I'm just gonna get this out there - I'm tired of hearing strong, independent women whine and complain about how difficult and unwieldy it can be to tear down a pie pumpkin. I'm pretty sure a solid majority of you ladies could mop the floor with my scrawny-assed, vertically-challenged self any day of the week; and all the same, I still hear/read about y'all people with two X chromosomes being reluctant to properly tackle a pie pumpkin processing.
If I haven't offended you and you're still reading, know that I'm speaking not to taunt, but to empower you. Breaking down a pumpkin isn't hard; I think most people that have problems with it are simply intimidated because what grows in the garden is so far removed from what folks are used to getting in a can. Sure, there's a little knife work involved, but it ain't brain surgery (or even Civil War field surgery).
Because no canned winter squash can top the texture and flavor of a roasted pie pumpkin, it's important to understand how to do one up for maximum benefit, especially as there is a small time investment as well. The way I roast a pie pumpkin ensures that the flesh gets a proper dose of dry heat (not steam) so that the earthy sweetness of the pumpkin can take center stage in every application in which it's showcased. And as we're doing the whole pumpkin anyway, it's not a huge deal to toast those seeds while you're waiting for the pumpkins to roast; and you sure as hell can't get those from the can.
Recipe: Jump to the detailed recipe. (or, keep reading for the gist of it) -
Pumpkin Seed Brine
Pumpkin Seed Seasoning
For the Pumpkin Roasting -
- Preheat your oven to 425F.
- Start by removing the stem along with an area about 2 inches around it (like you're making the lid on a jack-o-lantern). Start by puncturing the top 2 inches off-center and parallel to the stem, and continue making connecting punctures until you've circled the stem. Remove the stem area, and give it to your friendly, neighborhood squirrel as a peace-offering.
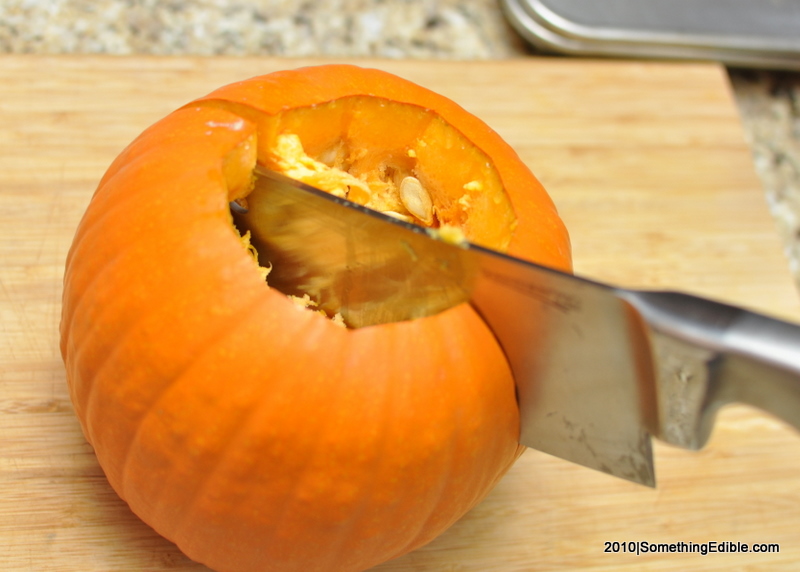
- Split pumpkins lengthwise starting at the hole you just made the with a heavy knife or cleaver. Do half the pumpkin at a go, then rotate and do the other half. Don't worry if the knife doesn't go all the way thru the bottom.
- After both cleaving cuts are made, pull the pumpkin halves apart with your mitts. Any remaining attachments should submit to your brute strength.
- Remove the seeds and guts from each pumpkin half, taking care to set the seeds aside. Don't worry about getting the seeds clean. Scrape out anything stubborn with a spoon, but don't be ocd about it.
- Place the pumpkin halves face-up on a sheet pan and roast in your 425F oven (you did pre-heat, right?) for 35 minutes. The thickest part of the pumpkin should pierce easily with a fork if you did it right. Remove the pan to cool completely. This is a great time to go toast those seeds.
- When cooled, remove the tough bottom part (where the flower was) from the halves and peel away the skin. If you cooked it long enough, it should come right off. For the difficult spots, enlist the help of Mr. Spoon again.
- Cut the peeled pumpkin into manageable chunks or throw it in a blender for puree to use in your intended application. For cryo-storage, cut into chunks and measure out one-pound portions into freezer bags. If puree is your intended destination, do that after the pumpkin comes back out of the freezer.
For the Pumpkin Seed Toasting -
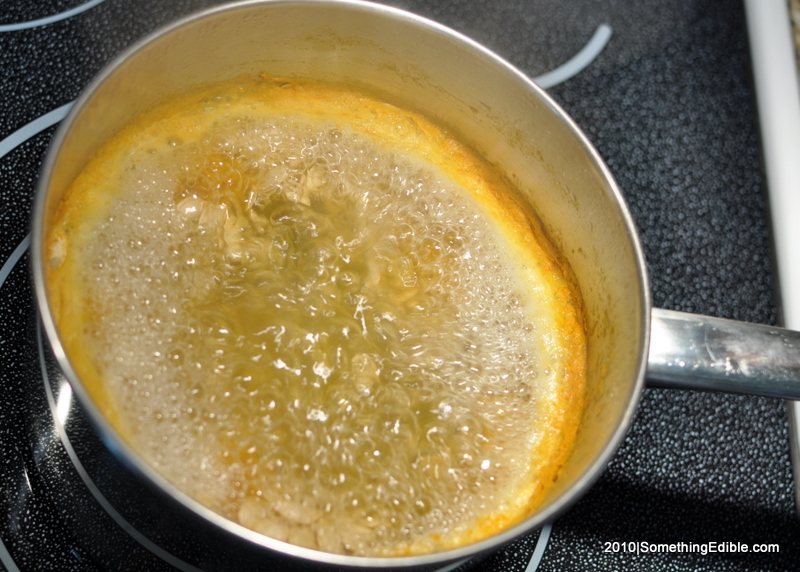
Add salt and sugar the water and bring to a boil. Add pumpkin seeds. Unclean seeds (with pumpkin guts) are fine; the mess will come off in the boil. Boil seed for 15 minutes over medium-high heat, stirring occasionally. At the end of 15, drain and rinse briefly to remove lingering pumpkin crud. Lay out to dry on some paper towels for 20-30 minutes.
Meanwhile, put the salt, peppercorns, sage and rosemary in a spice/coffee grinder and buzz to a fine powder. Or, kick it old-skool and use a mortar & pestle.
When seeds are pretty much dry, preheat oven to 300F. Toss seeds in the extra-virgin olive oil & spread out on a sheet pan. Bake for 45 minutes to an hour, giving seeds a stir every 15. Seeds are done when they're golden-brown. Sprinkle with seasoning right out of the oven and let cool on the sheet pan. You probably won't/shouldn't use all the seasoning. Move to an air-tight container to store.
Observation:
- Begin with proper knife selection and the rest will come easy. You need sharp, sturdy knives. My weapons of choice are a heavy, forged paring knife (with a blade that looks a lot like this), and a cleaver. No cleaver? Your biggest chef's knife will likely do fine.
- To cut the top out, start by puncturing the top 2 inches off-center and parallel to the stem. Don't try to saw a hole around the top; simply pull the blade completely out and continue making punctures in a circular pattern so as to circumnavigate around that stem (fig. 2).
-
Once you've pulled the top off, it's time to split (the pumpkin). Don't think for a second that you're gonna split this thing in one go; that's not only silly, but a bit dangerous. Run the cleaver/chef's knife thru so as to bisect one half of the pumpkin (fig. 3), then rotate the gourd 180 degrees and split the opposite side (fig. 4). Pull the two halves apart, and anything you missed will cleave accordingly (fig. 5). Don't worry if the cut looks a bit rough; I guarantee a rough cut won't show when it comes to making that pie.

- You probably don't wanna oil or salt the pumpkin halves. The idea is to get a first-order ingredient. That said, I guess if you actually know your intended application, season away (I like salt and smoked paprika on pumpkin roasted for something savory).
- Make sure the pumpkin halves are facing up on the sheet pan to achieve maximum roasted flavor. If we wanted steamed pumpkins, we wouldn't bother splitting them before they went in the oven.
Re: The Seed Toasting
- I see pictures all over the Interwebs for toasted/roasted pumkin seeds, and they're almost all unilaterally toasting Jack-o-lantern seeds. Barf. Pumpkins grown for front-porch decor yield seeds with hulls that are especially tough and woody; and their larger size means you're getting too big of a bite of all that nasty stuff. Pie pumpkin seeds are a perfect size for munching, and are seldom so tough that you can't eat the whole thing. I'm not patient enough to hull a pumpkin seed.
- Not only does the simmer in boiling brine clean the seeds, it also infuses the seeds with flavor and serves to soften up any hulls that might be a little tough. Consider it a necessary step for pumpkin seed toasting.
- Y'know how good popcorn always seems to be perfectly and uniformly seasoned? It's because the salt is done up fine. The spice grinder (or mortar and pestle) action ensures that all the seasoning is pulverized and consistent. Each seed will be sure to get a gentle dusting of the good stuff and it will always coat the seed.
- Be sure to apply that seasoning when the pumpkin seeds come right out of the oven. As the oil retreats into the seed as it cools, it'll take that flavor with it and create a little bit of salt crust on each seed.
Results:
To be honest, I was more excited about toasting the seeds this time around; that crunchy and nutty flavor is a great vehicle for all those savory seasonings that seem to always remind everyone of the holidays. However, after I'd roasted my pumpkins, uses presented themselves for simple meal ideas in the following days. Oh sure, if you're trending, ya gotta make pumpkin donuts or even donut muffins; but the same day at dinner, I went savory with a burrito filled with pulled chicken, green tomato salsa and (in lieu of beans and rice) roasted pumpkin. The next day, it was cold as hell and something warm and wholesome sounded good for lunch, so I blended pumpkin, raisins, and cinnamon into some oatmeal, and topped it with homemade granola. What pumpkin I didn't use, I measured out in one-pound portions and loaded up freezer bags until the time arrives for pies, cheesecakes, cookies, breads, or even a simple soup come next summer. You just can't get this kind of cooking excitement out of a can.
Gallery:

These two modestly-sized pie pumpkins are good for about two and a half pounds of finished product.
These two modestly-sized pie pumpkins are good for about two and a half pounds of finished product.
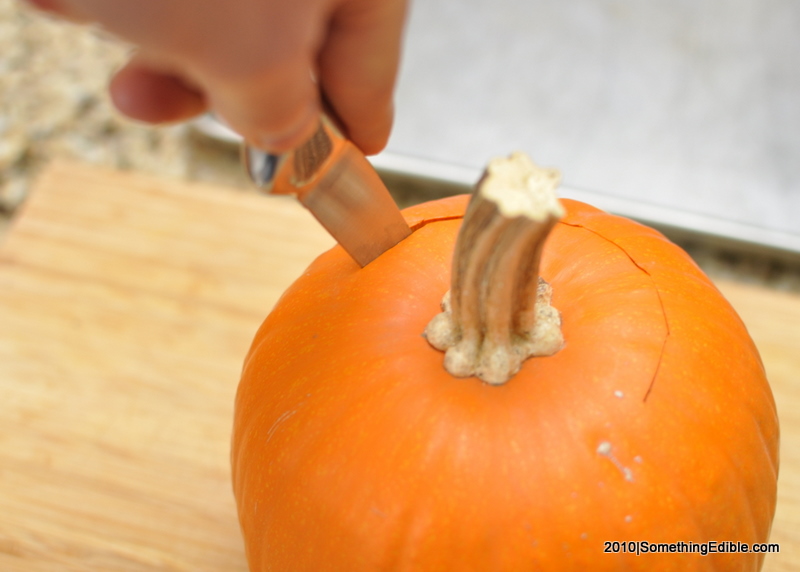
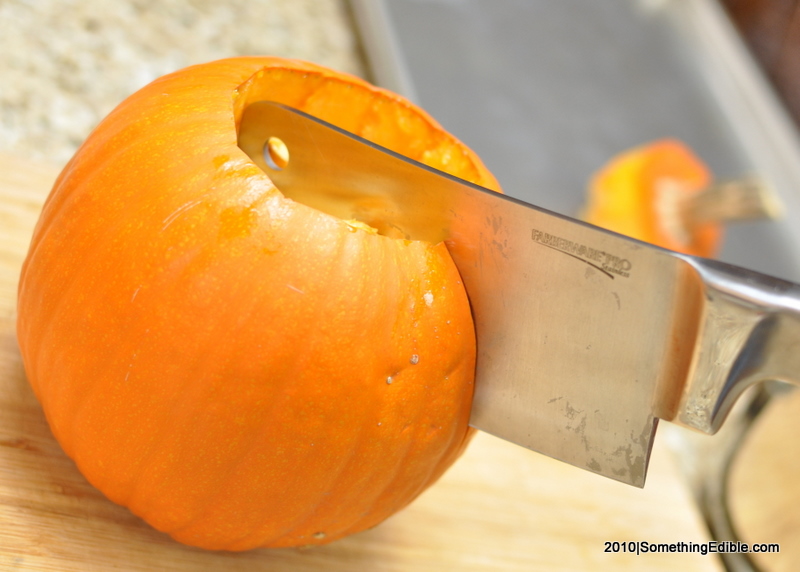
Unless you fancy a trip to the ER, don't saw to open the pumpkin. Make a series of punctures. Think: connect-the-dots with your cuts.
Unless you fancy a trip to the ER, don't saw to open the pumpkin. Make a series of punctures. Think: connect-the-dots with your cuts.

It's just not safe to try to cut that pumpkin in half in one go. Just cut to the center for this first cut with a sharp and heavy knife.
It's just not safe to try to cut that pumpkin in half in one go. Just cut to the center for this first cut with a sharp and heavy knife.
Second cut same as the first; only on the flip side.
Second cut same as the first; only on the flip side.
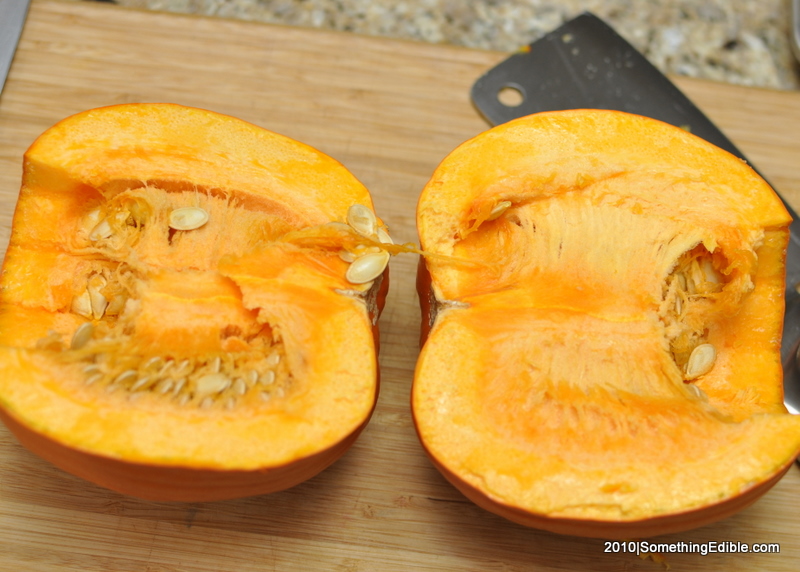
The end where the flower was can be tough to cut; but with just a little force, the pumpkin halves should just pull apart.
The end where the flower was can be tough to cut; but with just a little force, the pumpkin halves should just pull apart.
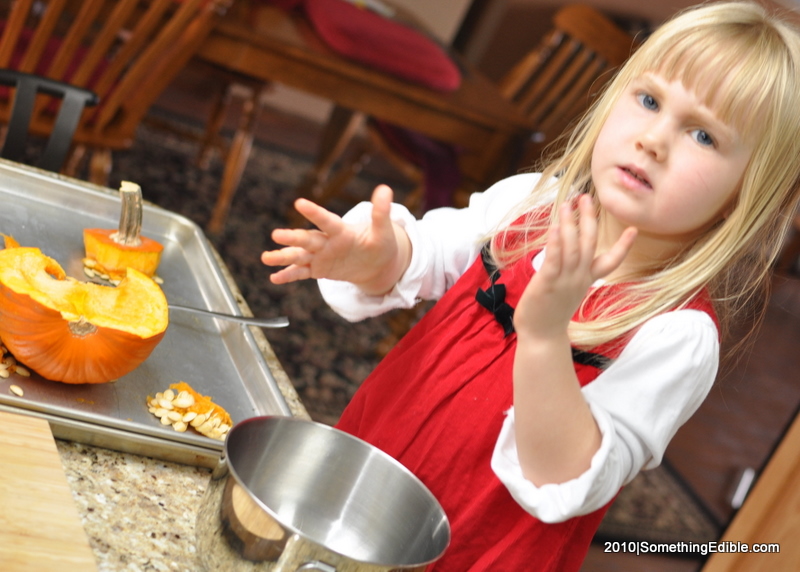
What fun-loving kid doesn't like to get their hands messy clearing the seeds and gunk from a pumpkin? This one apparently.
What fun-loving kid doesn't like to get their hands messy clearing the seeds and gunk from a pumpkin? This one apparently.
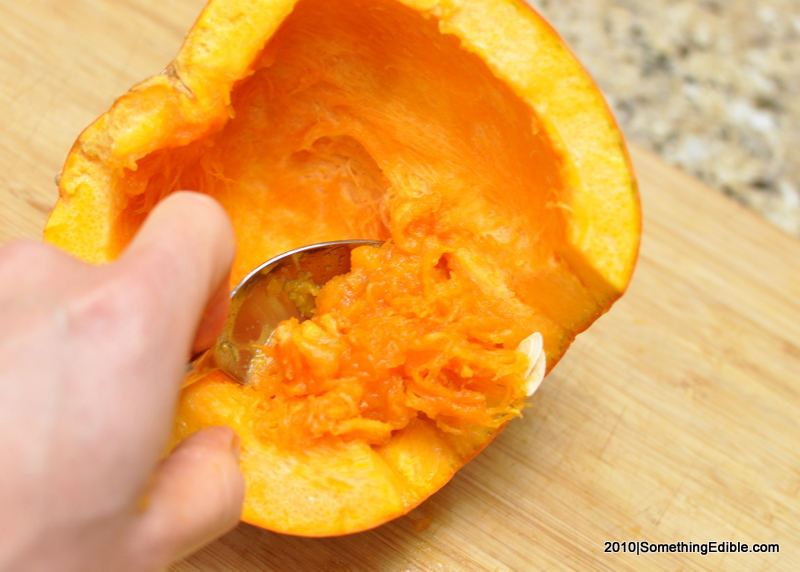
A spoon will help clear out those stubborn bits from your pumpkin.
A spoon will help clear out those stubborn bits from your pumpkin.
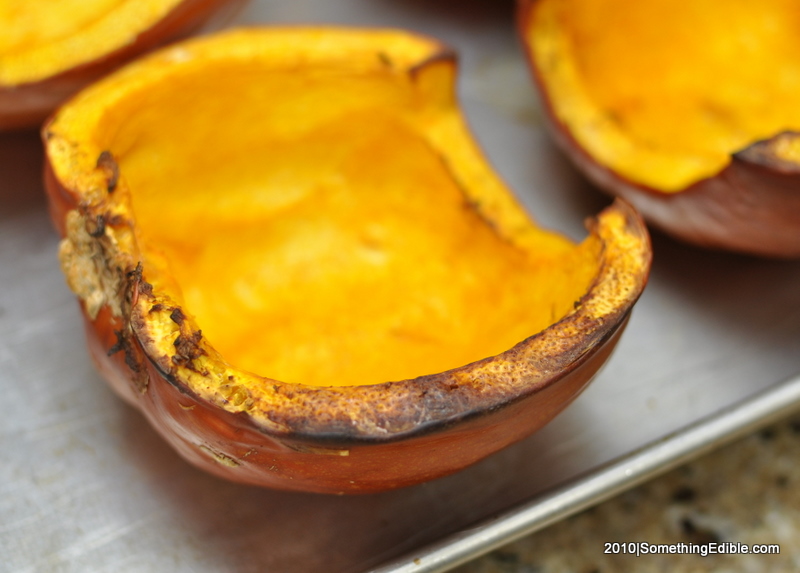
Just out of the oven from a 35 minute roast; let the pumpkins cool completely before handling.
Just out of the oven from a 35 minute roast; let the pumpkins cool completely before handling.

The best indicator that you roasted your pumpkins properly is that a fork will easily go thru both the flesh and skin.
The best indicator that you roasted your pumpkins properly is that a fork will easily go thru both the flesh and skin.
See how easily that skin peels off? That's a sign you're doing it right.
See how easily that skin peels off? That's a sign you're doing it right.

I did up some baked pumpkin donuts using this recipe, and…
I did up some baked pumpkin donuts using this recipe, and topped 'em with a maple buttermilk glaze.

On to the seeds: Don't sweat any crud that happens to be attached to the seeds. It'll all cook off after we hit these seeds with a soak in a boiling brine.
On to the seeds: Don't sweat any crud that happens to be attached to the seeds. It'll all cook off after we hit these seeds with a soak in a boiling brine.
Cleaning and seasoning simultaneously. One of the rare moments that I can multi-task.
Cleaning and seasoning simultaneously. One of the rare moments that I can multi-task.
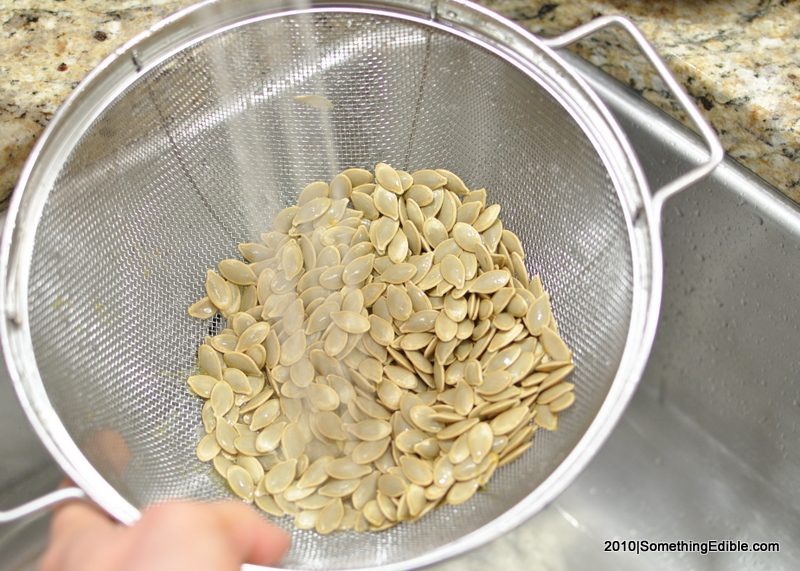
Giving the seeds a quick rinse will remove any remaining gunk that the brine didn't take care of.
Giving the seeds a quick rinse will remove any remaining gunk that the brine didn't take care of.

A properly-brined seed will have soaked up quite a bit of solution. Pull a couple of exemplars from the pile and have a look.
A properly-brined seed will have soaked up quite a bit of solution. Pull a couple of exemplars from the pile and have a look.
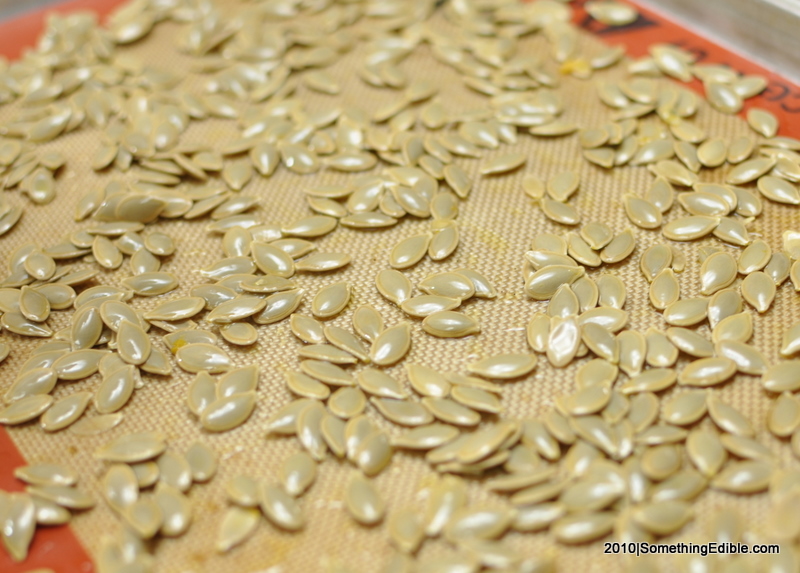
Oiled and ready to hit the 300F oven. I took this shot so you could see the difference...
Oiled and ready to hit the 300F oven. I took this shot so you could see the difference...
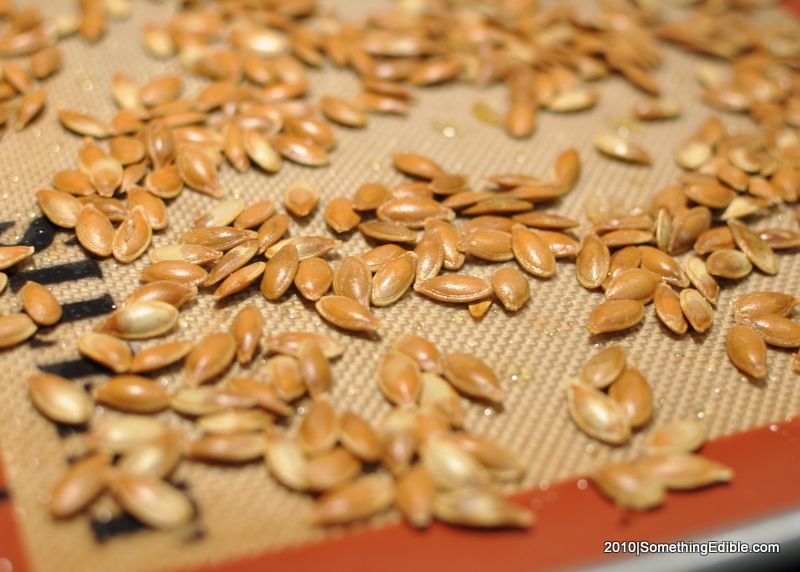
...in color when you pulled 'em out of the hot box. We haven't even seasoned the shells, and I already wanna grab a handful.
...in color when you pulled 'em out of the hot box. We haven't even seasoned the shells, and I already wanna grab a handful.
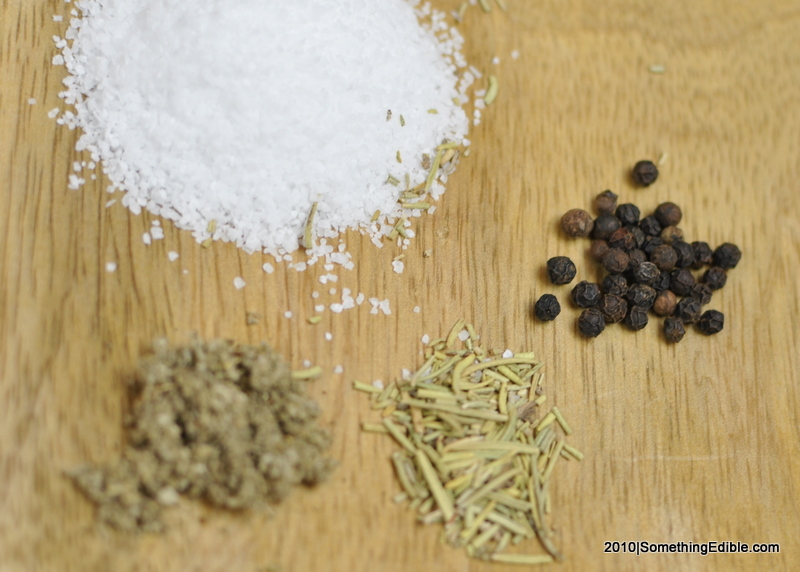
The flavors of fall cooking: Salt, pepper, rosemary, and sage. These are the ingredients that take seasoned, toasted pumpkin seeds to a whole new level.
The flavors of fall cooking: Salt, pepper, rosemary, and sage. These are the ingredients that take seasoned, toasted pumpkin seeds to a whole new level.

All seasonings have been properly pulverized. Time to coat the hot seeds.
All seasonings have been properly pulverized. Time to coat the hot seeds.
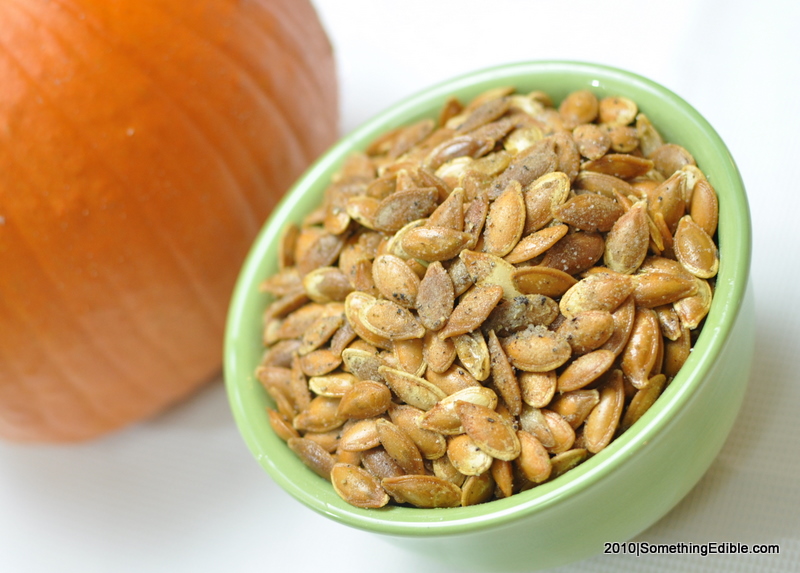
Toasted/Roasted pumpkin seeds seasoned with rosemary and sage. These might be the best excuse to tear down a pie pumpkin.
Toasted/Roasted pumpkin seeds seasoned with rosemary and sage. These might be the best excuse to tear down a pie pumpkin.
Get Social
Please wait while my tweets load...
Get the latest recipes and news. Join our Facebook page!


